
Pruning
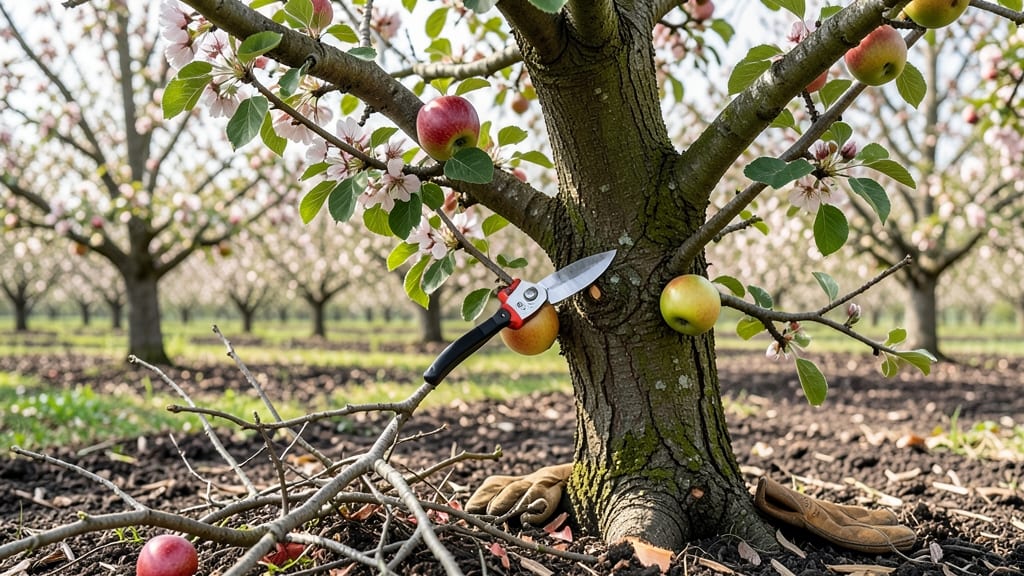
Your apple tree’s future harvest depends on just a few cuts—and getting those apple tree pruning mistakes wrong can mean years of stunted growth or lost fruit. ✂️ I’ve watched pruning turn a struggling tree into a fruit-bearing powerhouse, and the difference always comes down to avoiding these five deadly mistakes that gardeners make every year without realizing it.
Timing matters more than technique: prune at the wrong season, and you’ll either shock the tree into dormancy or invite pests to feast on fresh wounds. Even worse, many gardeners cut too aggressively, turning their tree into a sad, bare skeleton that never recovers.
The tools you use—whether they’re sharp or rusty—can mean the difference between clean cuts and ragged tears that invite disease.
By the end of this, you’ll know exactly where to make your cuts (and where to leave them alone) so your tree produces heavy, disease-free fruit every season. We’re talking stronger branches, more blossoms, and apples that actually ripen—no more bitter disappointments. The secret isn’t complicated, but it is precise.
Whether you’re dealing with a young sapling or a mature tree that’s never quite lived up to its potential, these fixes work. Let’s get those branches shaped right—before next year’s harvest is at stake.
📚 In This Guide
- What you need
- Instructions
- Tips and common mistakes
- Wrapping up and next steps
What you need
- ● Pruning saw – A sharp, bypass-style saw (8–10" blade) for thick branches (1–2" diameter). Pro tip: 💡 Avoid cheap saws—they dull fast and tear wood!
- ● Pruning shears/loppers – Bypass type (not anvil) for cleaner cuts on branches Size: 6–8" blades for precision.
- ● Gloves – Heavy-duty, cut-resistant gloves (e.g., Mechanix or pruning-specific) to protect from thorns and debris. Bonus: Bring a spare!
- ● Disinfectant (70% isopropyl alcohol or bleach solution) – Wipe tools between cuts to prevent disease spread (1 part bleach : 9 parts water).
- ○ Sealing wax or pruning paint – Optional but critical for cuts >1" diameter to prevent pests/disease entry. Brand rec: Tanglefoot Tree Wound Pruning Sealer.
- ● Ladder or step stool – Extendable (12–16 ft) for tall trees. Safety first: 🌡️ Use stabilizers and never overreach!
- ● Sharpie or marker – To mark branches for removal (helps visualize your plan).
- ● Bucket or tarp – For collecting debris (or a wheelbarrow for heavy pruning sessions).
- ● Extension pole pruners – For high branches without a ladder (e.g., Felco F-2 or Corona).
- ● Work gloves with grip – For extra comfort if pruning in wet conditions.
- ● Pruning rope or zip ties – To support weak branches temporarily.
- ● Notebook & pencil – Sketch your tree’s structure before/after pruning for reference.
- ● First-aid kit – Just in case (thorns + ladders = ouch potential!).
How to avoid the 5 deadliest apple tree pruning mistakes
Pruning wrong can turn your apple tree into a fruitless skeleton. Here’s what I’ve learned after years of cutting—and fixing—mistakes.
✂️ Step 1: Never Cut Into the Center of the Tree
This is the #1 mistake that strangles your harvest. When you remove branches growing straight up or into the center, you create a dense, dark interior where air and light can’t reach. Those inner branches die back, leaving only the outer ones to fruit. I’ve seen trees with beautiful outer growth but no apples because the center was choked.
Instead, focus on removing branches that cross or rub against each other. These create wounds where diseases like fire blight can enter. Thin out branches so light can penetrate to the center—aim for an open vase shape where you can see daylight through the canopy.
🌿 Step 2: Don’t Prune at the Wrong Time
Timing matters more than you think. Pruning in late winter or early spring—when the tree is still dormant—invites pests and diseases. But waiting until summer, after the fruit has set, means you’re cutting when the tree is already stressed from flowering. The sweet spot is late winter to early spring, just as buds begin to swell but before leaves emerge.
If you must prune later, do it right after harvest. But be prepared for slower healing—those cuts won’t seal as quickly. I always mark my calendar for February to March in my climate zone, and I’ve never had issues with disease spread.
☀️ Step 3: Avoid Over-Pruning in One Season
Cutting back more than 25% of the tree’s branches in a single year shocks the tree. It’s like asking a runner to sprint a marathon after years of walking—sudden stress leads to weak growth or even death. I’ve seen growers prune half a tree in one go, only to watch it struggle for years to recover.
Spread out your pruning over 2-3 years if needed. Focus on removing only the necessary branches each season—dead, diseased, or crossing wood. You’ll see stronger regrowth and bigger harvests sooner than you’d expect.
✂️ Step 4: Don’t Make Flush Cuts
Cutting a branch back to the trunk or a large limb leaves a stub that never heals properly. These wounds become entry points for rot and disease. I’ve seen apple trees with multiple flush cuts that never closed, leading to fungal infections that spread throughout the tree.
Always cut just outside the branch collar—the swollen area where the branch meets the trunk. Make your cut at a 45-degree angle, about ¼ inch above the collar. This ensures the tree can seal the wound naturally. If you’re unsure where the collar is, look for the slight ridge where the branch meets the trunk.
🌱 Step 5: Ignoring Water Sprouts and Suckers
Water sprouts are those fast-growing, vertical shoots that pop up everywhere. They steal energy from fruit production, leaving you with fewer apples. I’ve seen trees with dozens of these shoots, yet the grower never bothered to remove them—resulting in tiny, poor-quality fruit.
Remove water sprouts as soon as you see them. They grow aggressively in spring, so check your tree every 2 weeks until summer. Suckers—those shoots growing from the base or roots—should also go. They drain the tree’s resources without contributing to the harvest. Use sharp pruners and cut them at the base to prevent regrowth.
Tips & tricks for pruning your apple tree like a pro
Here's what nobody tells you about pruning—these tricks saved my trees from becoming fruitless shadows.
Light Penetration Check: After thinning branches in Step 1, stand back and look through the canopy. You should see daylight through the center—this means you’ve done it right. I’ve seen trees with perfect-looking outer branches but no fruit because the center was still too dense. Think of it like opening a window: light and air need to flow freely.
Seasonal Timing Secret: The February to March window in Step 2 is critical because that’s when the tree is just waking up from dormancy. If you’re in a warmer climate, adjust to late winter when buds begin to swell—this is your cue. I’ve made the mistake of pruning too early, and my trees ended up with more pests than fruit.
Branch Collar Visual: When making cuts in Step 4, look for the slight ridge where the branch meets the trunk—that’s your branch collar. If you can’t see it, run your fingers along the trunk until you feel the bump. Cutting just outside this ridge ensures the tree can heal properly. I’ve seen so many trees with ugly stubs that never closed—don’t make that mistake.
Sprout Patrol Schedule: Set a reminder to check for water sprouts every 2 weeks in spring as mentioned in Step 5. I keep a small notepad by my gardening tools and mark each check—it’s easy to forget when these fast-growing shoots appear. The sooner you remove them, the more energy your tree puts into fruit production instead of vertical growth.
Pro Tips for Apple Tree Pruning Mistakes
- Here's what nobody tells you about pruning—these tricks saved my trees from becoming fruitless shadows.
- Light Penetration Check: After thinning branches in Step 1, stand back and look through the canopy. You should see da...
- Seasonal Timing Secret: The February to March window in Step 2 is critical because that’s when the tree is just wakin...
Frequently asked questions
Got questions about pruning your apple tree? You’re not alone! Here are answers to the most common concerns—so you can avoid costly mistakes and keep your harvest thriving.
When is the best time to prune an apple tree?
The ideal window is late winter or early spring (just before buds swell), but you can also prune in summer after harvest. Avoid pruning in fall—it invites disease and pests. For young trees, focus on shaping in late winter; mature trees benefit from light pruning in both seasons.
Can I prune an apple tree in summer?
Yes! Summer pruning (after harvest) helps control size and shape, but it’s not a substitute for winter pruning. Focus on removing water sprouts (fast-growing vertical shoots) and thinning crowded branches. Just avoid heavy cuts—summer pruning can stress the tree if overdone.
What if I accidentally cut too much?
Don’t panic! If you’ve removed more than 25% of the canopy, the tree may struggle. Prune lightly the next year to let it recover. Water deeply and fertilize (if needed) to support regrowth. Severe over-pruning can reduce fruit production for 1–2 seasons, but healthy trees bounce back.
Will pruning reduce my apple harvest?
Not if done right! Proper pruning increases fruit quality by improving airflow and sunlight. However, aggressive cuts (like topping or removing too many branches) can slash yields. Focus on thinning crowded branches and opening the center of the tree for better air circulation.
How do I know if my pruning cuts are healing correctly?
Healthy cuts should seal within 2–3 weeks and form a smooth, slightly raised callus. If you see oozing sap, fungus, or dead wood, sterilize tools and apply pruning sealant (optional for larger cuts). Avoid sealants on small cuts—they can trap moisture. Monitor for signs of fire blight (blackened, oozy branches).
Wrapping up and next steps
Pruning your apple tree might seem tricky, but avoiding these 5 critical mistakes—like over-pruning, cutting at the wrong time, or ignoring disease—can mean the difference between a bountiful harvest and a struggling tree. 🌳✨ With the right tools, timing, and technique, you’re well on your way to nurturing a thriving orchard.
Ready to put your new knowledge into action? Grab your pruners, mark your calendar for late winter or early spring, and start shaping that tree with confidence! Your future apple pies will thank you. 🍏🔥