
Pruning
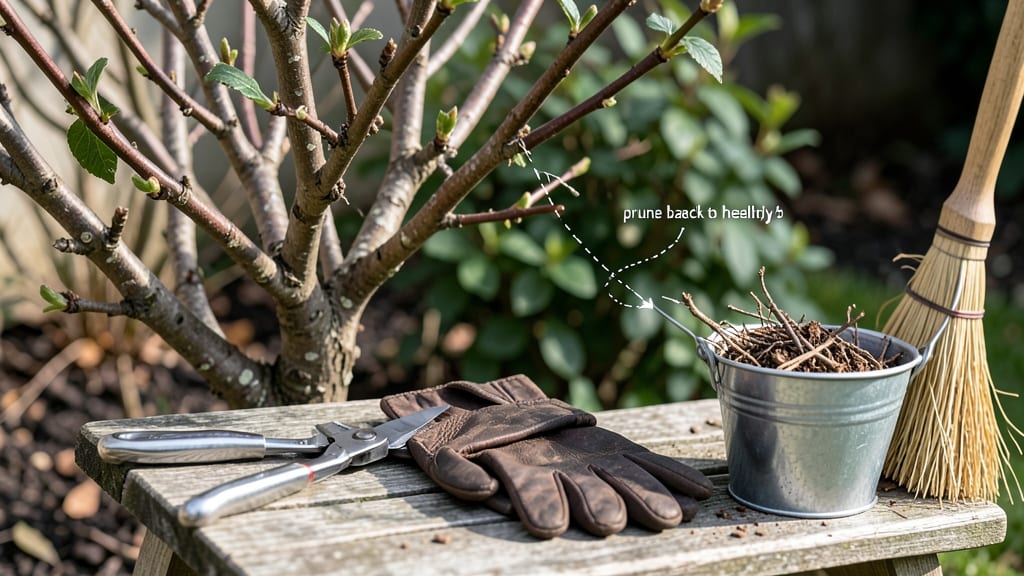
Hibiscus winter care pruning isn’t just about cutting back—it’s about waking up those dormant branches for a spring bloom explosion that’ll make your neighbors jealous. 🌸 I've learned the hard way that timing matters: prune too early, and you risk cold damage; too late, and you delay spring growth. The secret window is right after your first hard frost but before new buds swell—usually late winter in most zones.
You'll need just three things: sharp pruners (dull blades crush stems), rubbing alcohol (to sterilize between cuts), and a bucket for clippings. The goal isn't to make it look pretty—it's to remove dead wood, shape the plant for airflow, and encourage strong new growth from the base.
Think of it like giving your hibiscus a fresh start before spring arrives.
What you'll end up with is a plant that looks like a tangle of sticks now but will burst into vibrant new growth by May. Those late-summer blooms will come bigger and more abundant than ever, with fewer weak stems to support them.
The key is cutting back by about one-third while keeping the plant's natural shape.
This method works for both tropical and hardy hibiscus varieties, though zone 8-11 growers have more flexibility with timing. The worst mistake? Pruning when buds are already swelling—that's when you'll see delayed blooming. Trust the frost date, not the calendar, and your hibiscus will thank you with a spectacular show.
📚 In This Guide
- What you need
- Instructions
- Tips and common mistakes
- Wrapping up and next steps
What you need
- ● Pruning shears: Sharp, bypass-style shears (4–6" blades) for clean cuts. Disinfect with rubbing alcohol before and after use to prevent disease spread.
- ● Loppers: 1 pair (8–10" blades) for thicker branches (½"–1.5" diameter). Look for ratchet-assisted models for easier cutting.
- ● Hand pruners: 1 pair (for small stems Anvil-style is budget-friendly, but bypass is gentler on branches.
- ● Gloves: Heavy-duty, cut-resistant gloves (gardening or pruning-specific) to protect hands from thorns and sap.
- ● Disposable pruning saw: 1 (for branches >1.5" thick). A folding bow saw with 10–12" blades works best.
- ● Rubbing alcohol (70% isopropyl) or bleach solution: For sterilizing tools between cuts. Mix 1 part bleach to 9 parts water if alcohol isn’t available.
- ○ Pruning sealant (optional): A small tube of tree wound sealant (like Tanglefoot Tree Wound Pruning Sealer) to coat cuts >½" in diameter.
- ● Ladder or step stool: If your hibiscus is tall (6–10 ft). Ensure it’s non-slip and stable.
- ● Trash bags or bucket: For collecting pruned branches. A 5-gallon bucket with a lid keeps debris contained.
- ● Weather check: Prune on a dry, overcast day (avoid frost or rain within 24 hours). Ideal temps: 50–70°F (10–21°C).
- ● Safety glasses: Protect your eyes from debris. Wrap-around style is best.
- ● Long sleeves/pants: Wear lightweight, breathable fabric to shield against thorns and sun exposure.
- ● Water & snacks: Stay hydrated—pruning can be labor-intensive!
- ○ Notebook & pen (optional): Sketch a quick map of your hibiscus’s structure to guide pruning decisions.
Step-by-step instructions for pruning hibiscus in winter
Here's how I transform my hibiscus bushes every winter—revitalizing growth and setting the stage for next year's spectacular blooms.
✂️ Step 1: Wait for the Right Time to Prune
Prune your hibiscus after the first hard frost when the plant has fully entered dormancy. You'll know it's time when all leaves have fallen and new growth has stopped. I wait until late winter, just before spring's first warm spell, because pruning too early can stimulate new growth that won't survive cold snaps.
Check your local frost dates—most hibiscus varieties need to see two to three weeks of freezing temperatures before pruning. This dormancy period ensures the plant isn't actively growing and can heal properly from cuts. If you prune too soon, you risk encouraging tender new shoots that will get damaged by late frosts.
✂️ Step 2: Gather Your Tools and Prepare the Workspace
You'll need sharp, clean pruning shears and rubbing alcohol for sterilization. I always clean my tools with rubbing alcohol between cuts to prevent spreading disease. Lay down a tarp or old sheet underneath to catch fallen leaves and debris—this makes cleanup easier and keeps your workspace tidy.
Work on a dry day when temperatures are above 40°F. Cold, wet conditions make the plant more vulnerable to stress. Have a bucket of water nearby to rinse your tools between sterilizations. I also keep a small bag for collecting larger pruned branches that can be composted later.
✂️ Step 3: Remove Dead, Damaged, or Weak Growth
Start by examining each branch. Remove any dead wood—it'll be dry, brittle, and snap easily when bent. Cut these branches back to healthy green tissue. Next, look for crossing branches or those growing inward toward the center of the plant. These compete for sunlight and air circulation, which can lead to disease.
Make your cuts at a 45-degree angle, about ¼ inch above a leaf node or outward-facing bud. This encourages new growth to sprout in the right direction. I always step back occasionally to visualize the plant's shape—you want to maintain an open, vase-like structure that allows light and air to reach the center.
☀️ Step 4: Thin Out Overcrowded Branches
Hibiscus plants often develop dense growth that blocks sunlight from reaching inner branches. Selectively remove 20-30% of the oldest, thickest branches to improve airflow and light penetration. Focus on branches that are growing toward the center or those that haven't bloomed well in previous years.
Cut these branches back to a strong lateral branch or bud. You'll see new growth emerge from these points in spring. I like to leave some of last year's growth—about 1/3 of the plant's height
Now it's time to refine the plant's shape. Hibiscus respond well to a slightly rounded, open form that encourages blooms along the branches. Step back frequently to check your progress—you want to see light filtering through the center of the plant. Trim any branches that are growing too close together or that disrupt this open structure. After pruning, give your hibiscus a light application of balanced fertilizer (10-10-10) to replenish nutrients. Water deeply to help the plant recover from the stress of pruning. I also add a 2-inch layer of mulch around the base to protect roots from temperature fluctuations and retain moisture. This final step sets your hibiscus up for a strong, blooming spring.🌱 Step 5: Shape the Plant and Prepare for Spring
Tips & tricks for perfect hibiscus winter pruning
Here’s what nobody tells you—these simple tricks make all the difference between a healthy spring bloom and a struggling plant.
Timing is Everything: Don’t rush into pruning just because you’re eager for spring. The two-to-three-week dormancy period after your first hard frost is critical—it ensures your hibiscus isn’t storing energy for new growth. I’ve seen people prune too early and end up with frost-damaged shoots. Wait until late winter when the plant looks completely dormant, with no green leaves or buds. This patience pays off with stronger new growth in spring.
The 45-Degree Cut Secret: When you’re making those precise cuts in Step 3, the 45-degree angle isn’t just for looks—it’s about directing water away from the cut. This prevents rot and encourages new growth to sprout outward, creating a fuller plant. I always test my pruning shears on scrap branches first to make sure they’re sharp enough to create clean cuts. Dull blades tear the bark, which can invite disease.
Visualizing the Vase Shape: Step back every few minutes while pruning to check your progress. The goal is an open, vase-like structure that lets light and air reach the center. If you’re unsure, imagine sunlight filtering through the plant—any branches blocking that light are candidates for removal. I like to sketch a rough outline on paper first to guide my cuts. This prevents over-pruning, which can stress the plant.
Post-Pruning Care: After all that work, don’t neglect the aftercare. The balanced fertilizer (10-10-10) and 2-inch mulch layer in Step 5 aren’t optional—they help the plant recover from the stress of pruning. I’ve seen hibiscus struggle when people skip this step, especially in colder climates. Water deeply but avoid soggy soil, which can rot roots. A light layer of mulch also protects against late frosts that might sneak in during early spring.
Pro Tips for Hibiscus Winter Care Pruning
- Here’s what nobody tells you—these simple tricks make all the difference between a healthy spring bloom and a struggl...
- Timing is Everything: Don’t rush into pruning just because you’re eager for spring. The two-to-three-week dormancy pe...
- The 45-Degree Cut Secret: When you’re making those precise cuts in Step 3, the 45-degree angle isn’t just for looks—i...
Frequently asked questions
Got questions about winter pruning your hibiscus? You’re not alone!
Here are answers to the most common concerns—from timing to troubleshooting—to keep your plant thriving for next season’s show-stopping blooms.
When is the best time to prune hibiscus in winter?
Prune your hibiscus after the first hard frost (late fall/early winter) but before new growth starts in spring. This timing helps prevent frost damage to fresh cuts while removing dead or weak branches. For tropical hibiscus, wait until mid-winter (around January) when temperatures are consistently below 60°F.
Can I prune hibiscus if it’s still blooming in winter?
If your hibiscus is actively blooming in winter, hold off on heavy pruning! Focus on removing only dead, diseased, or crossing branches to avoid stressing the plant. Save major pruning for dormancy (late winter/early spring) to preserve flowers and energy reserves.
How much can I cut back hibiscus in winter?
For hardy hibiscus, you can prune up to ⅓ of the plant to encourage bushier growth. For tropical hibiscus, trim back 10–20% to avoid over-stressing the plant. Always cut just above a leaf node or outward-facing bud for the best regrowth.
What if I prune too late? Will my hibiscus survive?
Pruning too late in winter or early spring (after buds swell) can delay blooming but won’t kill your hibiscus. If you’ve already missed the ideal window, focus on light shaping and remove only dead wood. Your plant will still recover—just expect slightly slower spring growth.
Can I prune hibiscus indoors during winter?
Yes! Indoor hibiscus can be pruned in winter to control size and shape, but avoid heavy cuts—stick to light trimming (10–15%) to reduce stress. Since indoor plants don’t experience dormancy, prune after flowering to encourage new growth. Ensure good light and humidity to help recovery.
Wrapping up and next steps
With the right winter care and pruning, your hibiscus can bounce back stronger than ever—ready to burst into vibrant blooms come spring! 🌸 Remember, patience and precision are key: trim wisely, protect from frost, and keep an eye on moisture levels.
Your efforts will pay off in a stunning floral display that’ll make your garden the envy of the neighborhood.
Now that you’re armed with expert tips, grab those shears and get pruning! Need a refresher? Bookmark this guide or share it with fellow plant lovers—because every well-pruned hibiscus is a step toward a showstopping spring. Happy gardening! 🌿✨