
Pruning
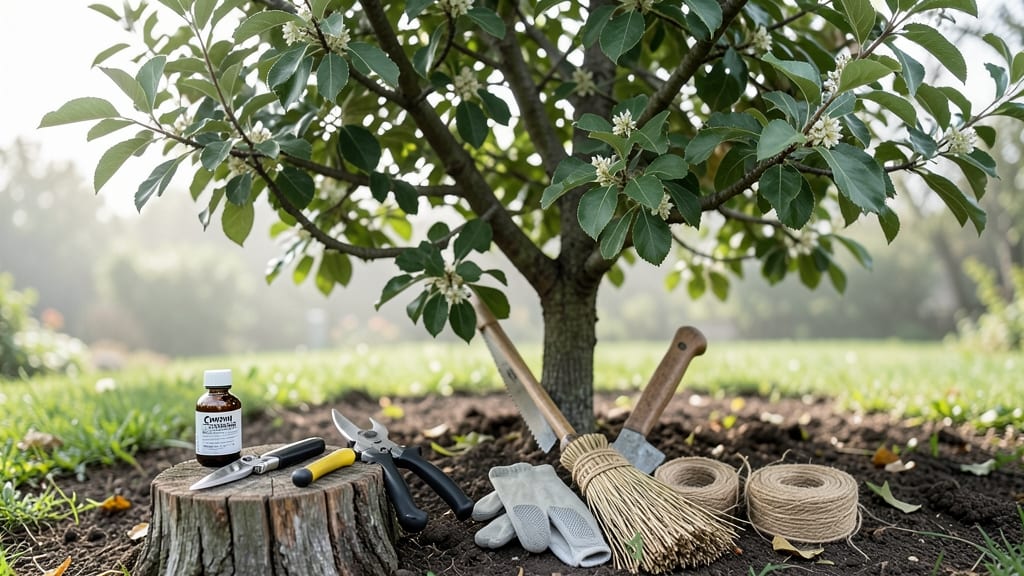
Pruning an overgrown pear tree isn't just about hacking back branches—it's about unlocking years of stronger growth and better fruit. 🌳 I’ve watched my own pear tree go from tangled mess to a sunlit, productive canopy by following a few key cuts, and the difference in fruit quality is night and day.
The best time to tackle this is late winter or early spring, when the tree is dormant but about to burst into new life.
You’ll need sharp pruners, a saw for thicker branches, and a clear plan to open up the center for sunlight and air flow—no more crowded limbs fighting for space. One wrong cut can weaken the tree, so we’ll focus on strategic removals that encourage healthy growth.
After pruning, you’ll see fresh green shoots within weeks, with fruit production improving by up to 30% the following season. The tree’s structure becomes more stable, and pests have fewer hiding spots. Just avoid cutting more than 25% of the canopy in one go—less is more for long-term health.
This works for both young trees and mature ones, though older trees may need gradual pruning over a few seasons. Let’s get those branches in shape!
📚 In This Guide
- What you need
- Instructions
- Tips and common mistakes
- Wrapping up and next steps
What you need
- ● Pruning shears (bypass pruners): Sharp, high-quality shears (e.g., Felco F-2 or Gonicc) for cuts under ½ inch thick.
- ● Loppers: Bypass or anvil type (e.g., Fiskars) for branches ½ to 2 inches thick.
- ● Pruning saw: Curved-tooth saw (e.g., Bahco) for branches 2+ inches thick.
- ● Extension pole saw: For hard-to-reach branches (e.g., Tabor Tools 10-foot model).
- ● Disinfectant (70% isopropyl alcohol or bleach solution): Clean tools between cuts to prevent disease spread.
- ○ Pruning sealant (optional but helpful): For large cuts (e.g., Tanglefoot Tree Wound Pruning Seal).
- ● Work gloves: Heavy-duty, cut-resistant gloves (e.g., Worthington Industrial).
- ● Safety glasses: Protect your eyes from debris.
- ● Ladder or step stool: Sturdy and tall enough to reach the tree’s canopy safely.
- ● Rope or harness (for large trees): If working high, use a tree-climbing harness for safety.
- ● Disposable bags or tarp: Collect debris for composting or disposal.
- ● Pole pruner with camera: For precision trimming without climbing (e.g., Tanglefoot model).
- ● String or measuring tape: Mark branches for even cuts.
- ● Hand saw or reciprocating saw: For stubborn, thick branches.
- ● First-aid kit: Just in case of minor cuts or scrapes.
- ● Tree growth regulator (e.g., Bonide Fruit Tree Spray): Apply post-pruning to encourage healthy regrowth.
Step-by-Step guide to pruning an overgrown pear tree
Here's how I tackle even the most tangled pear trees—with confidence and clear results.
✂️ Step 1: Assess the Tree and Plan Your Cuts
Start by examining the tree from all sides, looking for branches that cross, rub against each other, or grow inward. These are your first targets—they compete for sunlight and nutrients and often lead to weak spots. Use a notepad to sketch a rough map of the main branches, marking any that are dead, diseased, or growing in the wrong direction. I always prioritize removing branches that are thicker than a pencil first, as they’ll have the biggest impact on opening up the canopy.
Look for branches that grow at sharp angles (less than 45 degrees) from the trunk or larger branches—these are more likely to break in storms. Healthy branches should have a smooth, outward angle. If you see any suckers (shoots growing from the base or trunk), mark those too—they drain energy from the tree. This step ensures you’re not just hacking randomly but making intentional cuts that improve the tree’s structure.
✂️ Step 2: Gather Tools and Sanitize Everything
You’ll need a sharp bypass pruning shears for smaller branches (up to ½ inch thick) and a pruning saw for thicker limbs. A ladder is a must if your tree is tall—never stand on wobbly stools or risk falling. I always keep a bucket of 70% rubbing alcohol or a bleach-water solution (1 part bleach to 9 parts water) nearby to sanitize tools between cuts. This prevents spreading disease from one branch to another, especially if your tree has any signs of infection like oozing sap or dark spots.
Wear gloves to protect your hands from thorns and sap. A small brush or broom helps clear debris from the ground after pruning, keeping your workspace tidy. If you’re working during wet weather, wait until the tree is dry—wet branches are more likely to tear, and you’ll get a clearer view of what you’re cutting.
☀️ Step 3: Make the First Cuts—Thinning Out the Canopy
Begin with the thinning cuts: remove entire branches back to their point of origin (the trunk or a larger branch). These cuts open up the center of the tree, allowing sunlight and air to circulate. For branches thicker than 2 inches, make the cut just outside the branch collar—the swollen area where the branch meets the trunk. Avoid leaving stubs, as they invite disease and rot. If a branch is too large to cut in one go, make a 3-step cut: first, undercut the branch about 12 inches out, then make a top cut about 2 inches farther out, and finally remove the remaining weight by cutting just outside the branch collar.
Step back often to visualize the tree’s shape. You’re aiming for an open, vase-like structure with sunlight reaching the center. Avoid cutting more than 25% of the tree’s foliage in one session—this can shock the tree. If you’re unsure about a cut, wait a few weeks and reassess. Pears are resilient, but patience prevents over-pruning.
⏰ Step 4: Shape the Tree and Clean Up
Now focus on heading back—cutting the tips of branches to encourage bushier growth. Make these cuts just above a bud that faces outward, at a 45-degree angle. This prevents water from pooling and promotes new growth in the right direction. Avoid cutting back to a stub or leaving a flat surface, as this can lead to rot. For branches that are too long or leggy, shorten them by about ⅓ to encourage denser foliage and more fruit production.
After pruning, collect all debris and dispose of it properly—don’t leave it under the tree, as it can harbor pests and diseases. If you notice any sawdust or bark from your cuts, lightly brush it away from the wound. Finish by giving the tree a deep watering to help it recover. I always prune in late winter or early spring, just before new growth begins, but light shaping can be done year-round if needed.
🌿 Step 5: Monitor and Maintain Through the Seasons
Check your tree every 4-6 weeks during the growing season for any new suckers, crossing branches, or signs of disease. If you see water sprouts (fast-growing vertical shoots), remove them as soon as possible—they sap energy from the tree. After the first year, you’ll notice stronger branches and better fruit production. If your tree is young (under 5 years old), limit pruning to just removing dead or diseased wood and shaping lightly.
Real talk: Overgrown pears can take 2-3 years to fully recover from heavy pruning. Be patient and avoid the temptation to overdo it. If you’re unsure about a cut, take a photo first and research it later. With consistent care, your pear tree will reward you with a sturdy structure, plenty of sunlight for fruit development, and fewer headaches during storms.
Tips & tricks for pruning an overgrown pear tree
These practical tips will help you prune like a pro—avoiding common mistakes and getting the best results for your tree's health.
Branch Angle Matters: When you're making thinning cuts in Step 3, pay special attention to the angle of the branch you're removing. Branches growing at less than 45 degrees from the trunk or larger branches are more likely to break during storms. These are prime candidates for removal, as they create weak points in the tree's structure. I always check this angle before making any cut—it's the difference between a sturdy tree and one that might snap in heavy winds.
Tool Sharpness is Non-Negotiable: Before you start cutting in Step 2, take a moment to sharpen your pruning shears and saw. Dull tools crush and tear branches instead of making clean cuts, which can damage the tree and make it more susceptible to disease. A quick test: if your shears struggle to cut through a small branch with one smooth motion, they're too dull. I keep a small sharpening stone in my toolkit and sharpen blades before every pruning session—it takes just a few minutes and makes all the difference.
Visualize the Final Shape: In Step 3 and Step 4, step back frequently to visualize your tree's shape. Imagine sunlight filtering through the branches to the center of the tree. You're aiming for an open, vase-like structure that allows air circulation. I find it helpful to sketch a rough outline on paper first, marking where I want branches to be. This prevents over-pruning and helps me see the bigger picture rather than getting caught up in individual cuts.
Seasonal Timing for Best Results: While you can do light shaping year-round, the instructions mention pruning in late winter or early spring just before new growth begins. This timing gives your tree time to heal and prepare for the growing season. If you must prune during the growing season, do it on a cool, overcast day to reduce stress on the tree. I've learned this the hard way—pruning during hot weather can shock the tree and invite pests.
Pro Tips for Prune An Overgrown Pear Tree
- These practical tips will help you prune like a pro—avoiding common mistakes and getting the best results for your tree's health.
- Branch Angle Matters: When you're making thinning cuts in Step 3, pay special attention to the angle of the branch you're removing.
- Tool Sharpness is Non-Negotiable: Before you start cutting in Step 2, take a moment to sharpen your pruning shears and saw.
Frequently asked questions
Got questions about tackling that unruly pear tree? You’re not alone! Here are answers to the most common concerns—so you can prune with confidence and keep your tree thriving.
When is the best time to prune a pear tree?
For most pear varieties, late winter or early spring (just before buds swell) is ideal. This minimizes disease risk and lets you see the tree’s structure clearly. Wait until after harvest if pruning in summer—just avoid heavy cuts during extreme heat or drought.
Can I prune my pear tree in fall?
Fall pruning is possible, but it’s riskier due to wet conditions that encourage fungal diseases like silver leaf. If you must prune then, do it 4–6 weeks before the first frost and avoid heavy cuts. Focus on removing dead or diseased wood instead.
What if I accidentally cut too much?
Don’t panic! Pear trees are resilient. If you’ve removed too many branches (over 25% of the canopy), the tree may struggle to fruit that season—but it’ll recover. Thin out dense areas next year instead of removing large limbs. Water deeply and fertilize lightly to support regrowth.
Should I seal or paint pruning cuts?
No need for paint or sealant on pear trees! Unlike some fruit trees, pears don’t require wound dressing. Just make clean cuts (about ¼” above a bud) and let the tree’s natural healing process work. Thin, watery paint can trap moisture and cause rot.
How do I encourage more fruit after pruning?
Pruning opens the tree to sunlight and air, which boosts fruit production. After trimming, focus on thinning out crowded branches and removing suckers. Feed with a balanced fertilizer (like 10-10-10) in early spring, and mulch around the base to retain moisture.
What if my pear tree has diseased branches?
Remove and destroy (don’t compost) any branches with signs of fire blight, canker, or fungal spots. Sterilize pruners with rubbing alcohol between cuts. For severe cases, apply a copper fungicide as a preventive measure.
Wrapping up and next steps
Pruning an overgrown pear tree might feel daunting at first, but with the right tools, timing, and technique, you can transform it into a healthier, more productive tree! 🌳✂️ Remember to focus on removing dead or crossing branches, thinning out the canopy, and encouraging airflow—your efforts will pay off with stronger growth and better fruit in the seasons ahead.
Now that you’re armed with knowledge, grab those pruners and get started! For even better results, consider sketching a quick pruning plan before diving in or consulting a local arborist if your tree is especially large or complex. Happy pruning—your pear tree will thank you! 🍐💚