
Pruning
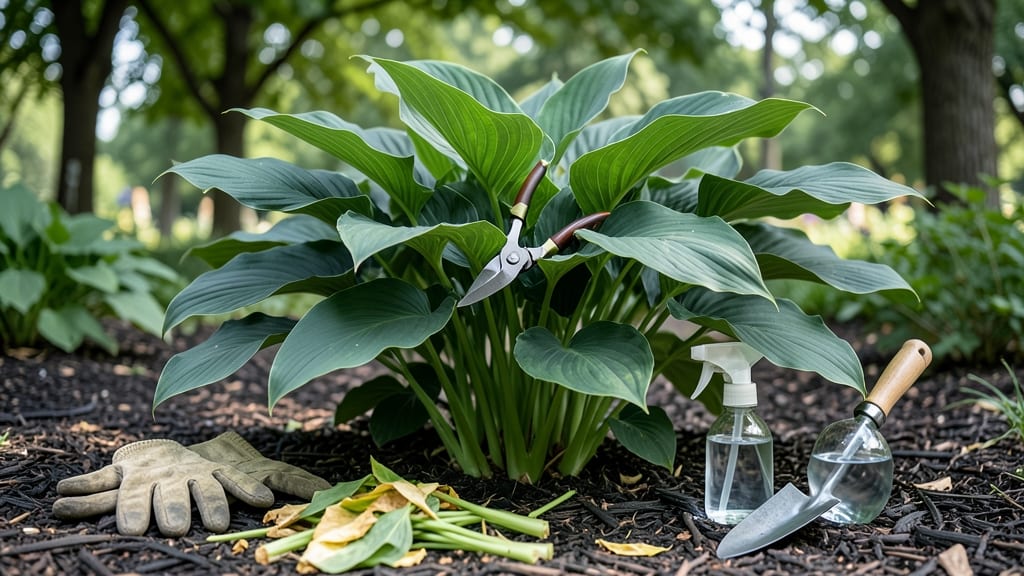
Pruning hostas isn’t just about tidying up—it’s the secret to lush, thicker foliage that keeps slugs at bay and blooms bigger each year. 🌿 I’ve spent years perfecting my late-summer pruning routine, and the difference in my hostas is shocking: fewer brown patches, stronger stems, and plants that look like they just got a spa day.
The key? Timing, sharp tools, and knowing exactly what to cut (and what to leave). You’ll only need three basic tools: clean pruners, a small trowel, and a bucket for debris. Skip the shears—they crush stems and invite disease.
Work on a dry morning when the foliage is crisp, and always wear gloves (those leaves can be razor-sharp!). The real magic happens in late August or early September, just as new shoots start pushing through.
Start by removing anything brown, yellow, or mushy—those are invitations to pests and rot. Cut back to healthy green growth, but leave the sturdy, upright leaves that still look fresh. For crowded centers, snip out the oldest leaves at the base to let light reach the middle.
You’ll be left with a hosta that looks neat, full, and ready for winter—plus, you’ll have fewer slugs feasting on weak stems. This method works for all hosta varieties, from tiny ‘Blue Mouse Ears’ to giant ‘Francee’. The only rule?
Never prune in spring—you’ll cut off next year’s growth. Stick with late summer, and your hostas will thank you for years to come. Ready to transform your shady garden corner?
📚 In This Guide
- What you need
- Instructions
- Tips and common mistakes
- Wrapping up and next steps
What you need
- ● Pruning shears or secateurs – Choose bypass pruners (sharp, clean-cut blades) for clean cuts. A 5-inch to 7-inch pair works best for hostas.
- ● Garden gloves – Opt for cut-resistant, breathable gloves (e.g., leather or synthetic blend) to protect against thorns and bacteria.
- ● Disinfectant (70% isopropyl alcohol or bleach solution) – Clean tools before and after pruning to prevent disease spread (1 part bleach to 9 parts water).
- ○ Pruning saw (optional but helpful) – If dealing with thick, woody stems, a folding pruning saw with a 10-inch blade can be a lifesaver.
- ● Compost bin or bag – For disposing of pruned foliage (avoid composting diseased leaves).
- ● Sharpie or marker – Useful for labeling new divisions or marking pruning spots if needed.
- ● Hand sanitizer or rubbing alcohol – For quick clean-ups between cuts.
- ● Knee pads or a small stool – Hostas love ground level; these make pruning more comfortable!
- ● Plant food or compost – Feed your hostas post-pruning to encourage regrowth (balanced 10-10-10 or organic compost works well).
- ● Camera or phone – Snap before/after pics to track progress over the years!
Step-by-step guide to pruning hostas for lush growth
Hostas thrive when you prune them right—here’s how to keep them full, healthy, and pest-free all year.
✂️ Step 1: Remove Dead or Damaged Foliage in Early Spring
Start by inspecting your hostas in early spring (March–April) when new shoots begin emerging. Use clean, sharp pruners to snip away any yellowed, brown, or mushy leaves from last season. These are prime spots for fungal diseases and pests to hide. I always work on dry days—wet foliage can spread spores if your shears aren’t sterilized.
Cut back to the healthy green growth just above the soil line. You’ll see fresh, upright shoots pushing through—these are your plant’s fresh start. If you’re unsure whether a leaf is dead or just dormant, gently tug it. If it resists, leave it; if it pulls away easily, remove it. This step prevents disease and lets your hosta focus energy on new growth.
✂️ Step 2: Thin Out Crowded Centers in Late Spring
Once your hosta has 4–6 inches of new growth (usually May–June), it’s time to thin. Crowded centers lead to small, weak leaves and invite slugs. Look for leggy stems or bare spots in the middle—these are your targets. Use your pruners to cut back one-third of the oldest, most crowded stems at the base, about 1–2 inches above the soil.
Here’s the thing—hostas are tough, but they don’t like being smothered. After trimming, you’ll notice more air circulating through the center, which reduces humidity and fungal risks. Water deeply after pruning to help the plant recover. If your hosta is still young (under 3 years), skip this step—let it establish first.
✂️ Step 3: Deadhead Flowers and Clean Up in Summer
When your hosta blooms in late summer (July–August), snip off the spent flower stalks as soon as they fade. Use your fingers or pruners to pinch them off at the base—no need for fancy cuts. This redirects energy back to the foliage instead of seed production. I always do this after the first frost, too, to tidy up any remaining debris.
While you’re at it, check for chewed or ragged leaves—a sign of slugs or deer. Remove those leaves entirely and dispose of them in the trash (not compost). Hostas are slug magnets, so this keeps your plant looking sharp. After deadheading, give the area a light mulch (like shredded leaves) to protect the roots and deter pests.
⏰ Step 4: Light Prune in Fall and Winter for Next Year
In fall (September–October), hostas start slowing down. If any leaves are shredded or diseased, remove them to prevent overwintering pests. But here’s the key: don’t cut back healthy leaves until late winter (February). Those leaves protect the crown from freezing temps and insulate the roots. I leave them until new shoots appear in spring—then I clean up.
In winter, if your hosta’s leaves turn brown but stay upright, leave them. If they flop over, you can tuck them into the center for extra protection. The only time I prune in winter is if mold or rot appears—then I cut it out immediately. Hostas are hardy, but a little winter prep goes a long way for spring vigor.
🌿 Step 5: Sterilize Tools and Monitor Year-Round
After every pruning session, sterilize your tools with rubbing alcohol or a 10% bleach solution to prevent spreading disease. I keep a small bottle of alcohol in my gardening caddy for quick cleanups. Hostas are prone to slime mold, rust, and blight, so this step is non-negotiable.
Throughout the year, spot-check your hostas weekly for signs of stress—yellowing leaves, holes, or slimy trails. Address issues early: slug bait for pests, fungicide for mold spots. A well-pruned hosta rewards you with bigger leaves, fewer pests, and longer bloom seasons. And trust me, your neighbors will notice the difference.
Tips & tricks for perfect hosta pruning
These simple tricks will help you keep your hostas looking lush and healthy all year long.
Timing is Everything: In Step 1, when you're removing dead foliage in early spring, don't rush the process. Take your time to inspect each leaf carefully—sometimes what looks like dead foliage might just be dormant growth. I always work on dry days because wet leaves can harbor fungal spores that spread easily with unsterilized tools. This careful inspection prevents disease from taking hold in your hosta's crown.
Thinning Technique: For Step 2, when thinning crowded centers, focus on removing the oldest stems first. These are usually the leggy ones that haven't produced strong new growth. I like to cut back about one-third of the oldest stems at the base, leaving about 1-2 inches above the soil. This creates better airflow and prevents slugs from hiding in the center. Remember, younger hostas under 3 years old don't need this step—they're still establishing their root systems.
Seasonal Considerations: In Step 4, when dealing with fall and winter pruning, resist the urge to cut back healthy leaves until late winter. Those leaves act as insulation for the crown during freezing temperatures. I've seen many gardeners make the mistake of removing all foliage in fall, only to have their hostas struggle to emerge in spring. The only exception is if you spot mold or rot—then you should remove those leaves immediately to prevent spreading.
Tool Maintenance: After every pruning session in Step 5, sterilize your tools with rubbing alcohol or a 10% bleach solution. I keep a small bottle of alcohol in my gardening caddy for quick cleanups between plants. This simple step prevents the spread of fungal diseases like slime mold and rust that can devastate your hostas. Don't skip this—it's one of the most important things you can do for long-term plant health.
Pro Tips for Prune Hosta
- These simple tricks will help you keep your hostas looking lush and healthy all year long.
- Timing is Everything: In Step 1, when you're removing dead foliage in early spring, don't rush the process. Take your...
- Thinning Technique: For Step 2, when thinning crowded centers, focus on removing the oldest stems first. These are us...
Frequently asked questions
Got questions about pruning hostas? You’re not alone! Whether you’re a newbie gardener or just want to refine your technique, these answers will help you keep your hostas thriving. Let’s dive in:
When is the best time to prune hostas?
Prune hostas in early spring (just as new shoots emerge) or late fall (after foliage dies back). Avoid pruning in summer—it stresses the plant and can invite pests. If you spot dead or yellowing leaves anytime, remove them promptly to prevent disease.
Can I prune hostas in the middle of summer?
It’s not recommended! Summer pruning can shock hostas, leaving them vulnerable to sunburn or fungal issues. If you must trim (e.g., for aesthetics), do it early morning on cloudy days and avoid cutting more than 20% of the foliage at once. Let the plant recover before fall.
What if my hosta leaves turn brown or mushy after pruning?
Brown/mushy leaves usually signal over-pruning or fungal infection (like slime mold). If it’s the former, avoid cutting back further—hostas bounce back surprisingly well! For fungus, remove affected leaves, disinfect tools with rubbing alcohol, and improve airflow by spacing plants apart.
Do I need to prune hostas every year?
Not necessarily! Prune only if you see dead, damaged, or overly crowded growth. Healthy hostas with no pests/diseases can skip pruning entirely. Focus on removing old leaves in spring to make room for fresh growth and keep the center tidy.
Can I divide hostas while pruning?
Yes! Early spring is the best time to divide hostas and prune. After digging up clumps, trim away damaged foliage before replanting divisions. This combo boosts airflow, reduces disease risk, and gives your new plants a head start. Just water them well afterward!
What if I live in a hot, dry climate?
In hot zones, prune lightly in spring to avoid stressing the plant. Hostas thrive in shade, so if yours are struggling, mulch heavily to retain moisture and prune only to remove wilting or crispy leaves. Consider varieties like ‘Halcyon’ or ‘Francee’, which tolerate heat better.
Wrapping up and next steps
Pruning your hostas doesn’t have to be intimidating—with the right timing, tools, and techniques, you’ll transform your garden into a lush, thriving oasis! 🌿 Whether you’re trimming dead leaves, dividing overcrowded plants, or shaping for aesthetics, each step keeps your hostas stronger, healthier, and more vibrant.
Remember, consistency is key, so check in seasonally and adapt as your plants grow.
Ready to take the next step? Grab your pruners, roll up your sleeves, and give your hostas the care they deserve! 🌱 For even more gardening tips, explore our guides on dividing perennials or seasonal hosta care—your green thumb is about to level up!