
Pruning
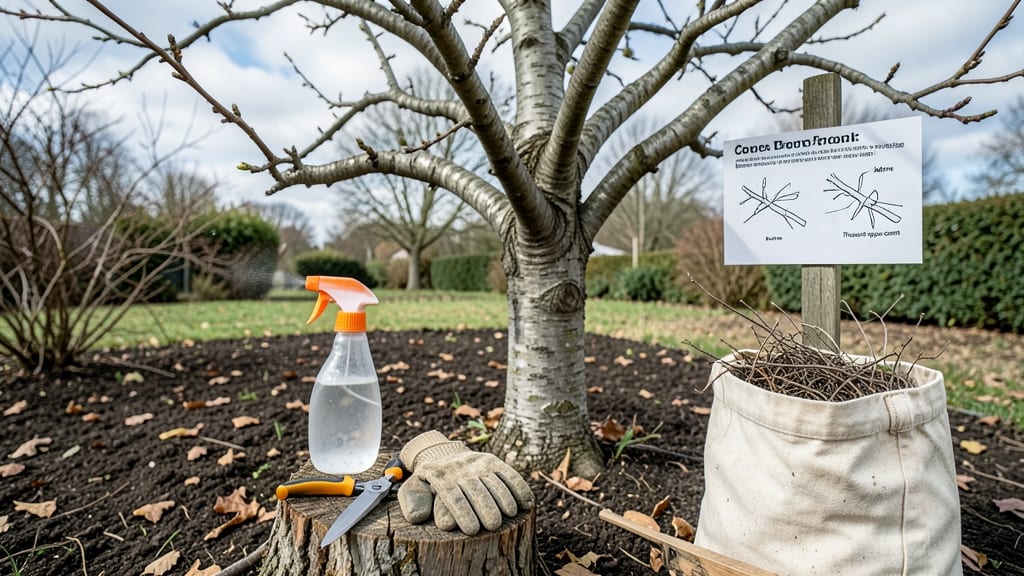
Pruning pear fruit trees transforms a tangled mess into a productive harvest machine. ✂️ After years of struggling with overgrown branches and small fruit, I finally cracked the code—timing, technique, and a few key cuts make all the difference in fruit size and yield.
The right approach keeps your tree healthy, disease-free, and packed with juicy pears by next summer.
You’ll need sharp pruning shears, a saw for thicker branches, and rubbing alcohol to sterilize tools between cuts. The best time to prune is late winter or early spring, when the tree is dormant but about to burst with new growth.
Focus on removing dead wood first, then shape the canopy to let sunlight reach the center—this is where pear trees often hide their best fruit clusters.
Thinning out crowded branches creates space for larger pears to develop, and proper cuts encourage stronger growth. After pruning, your tree will reward you with better air circulation, fewer disease issues, and fruit that’s actually worth picking. The first harvest after proper pruning? Noticeably bigger, sweeter, and easier to reach.
Works for both backyard trees and orchard varieties, and the same principles apply whether you’re dealing with a young sapling or a mature tree. Let’s get those branches in shape for next year’s harvest!
📚 In This Guide
- What you need
- Instructions
- Tips and common mistakes
- Wrapping up and next steps
What you need
- ● Pruning shears (bypass pruners) – Sharp, clean, and disinfected (70% isopropyl alcohol works). Choose a pair rated for 2- to 3-inch cuts.
- ● Loppers – For thicker branches (up to 1.5-inch diameter). Opt for bypass-style to avoid crushing.
- ● Pruning saw – A bow saw or folding pruning saw for branches thicker than 2 inches.
- ● Gloves – Garden gloves (preferably cut-resistant) to protect your hands from thorns and splinters.
- ● Disinfectant – Rubbing alcohol (70%+) or a copper-based pruning spray to sterilize tools between cuts and prevent disease.
- ● Rope or twine – 3/8-inch to 1/2-inch diameter, for temporarily supporting branches if needed.
- ○ Tree wound paint (optional) – Not always necessary, but a fast-drying, organic sealant (like tree wound dressing) can help larger cuts heal faster.
- ● Ladder or step stool – If your tree is taller than 6-8 feet, use a stable, non-slip ladder.
- ● Work boots or closed-toe shoes – Protects your feet from dropped branches or tools.
- ● Safety glasses – Prevents debris from flying into your eyes.
- ● Weather check – Prune on a dry, overcast day (avoid windy or rainy conditions).
Step-by-step guide to pruning pear fruit trees
Here's the seasonal approach I've used for years to keep my pear trees healthy and productive.
✂️ Step 1: Prune in Late Winter (Dormant Season)
Start your pruning 2-3 weeks before buds swell in late winter. This is when the tree is dormant, making it easier to see the branch structure and reduce disease spread. Use sharp, clean pruning shears to make cuts just outside the branch collar—the swollen area where the branch meets the trunk.
Remove any dead, diseased, or crossing branches first. These compete with healthy growth and can harbor pests. Cut back to a healthy bud or branch, never leaving stubs. I always make my cuts at a 45-degree angle just above an outward-facing bud to encourage new growth in the right direction.
☀️ Step 2: Thin Out Branches in Early Spring
Once new growth appears in early spring, focus on thinning out the canopy. Pears need good airflow to prevent fungal diseases like fire blight. Remove any branches that rub against each other or grow inward. You'll want to maintain an open center with sunlight reaching all the way to the trunk.
Look for branches that are growing straight up or down—these are called "water sprouts" and should be pruned back to a lateral branch. I aim to keep the tree's shape balanced, with no single branch dominating. This ensures even fruit production and easier harvesting.
✂️ Step 3: Light Pruning After Harvest
After the fruit harvest in late summer, do a light pruning to remove any suckers or water sprouts that have appeared. These fast-growing shoots steal energy from fruit production. Cut them back to a healthy bud or branch, making sure not to leave any stubs.
This is also a good time to remove any branches that produced poor-quality fruit or very few pears. You'll notice these branches often have smaller leaves or fewer fruit spurs. Pruning them now encourages the tree to redirect its energy to more productive branches.
⏰ Step 4: Summer Pruning for Airflow
During the growing season, keep an eye out for branches that are growing too densely. In mid-summer, thin out any branches that are shading the center of the tree. This prevents fungal diseases and ensures even ripening of the fruit. Make these cuts on a dry day when the tree isn't under stress.
Watch for any branches that are crossing or rubbing. These can create wounds that invite pests and diseases. Prune them back to the branch collar, making sure to leave a smooth cut. I always clean my pruning tools with rubbing alcohol between cuts to prevent spreading any potential infections.
Tips & tricks for pruning pear fruit trees
Don’t let overgrown branches ruin your pear harvest—these insights will keep your tree thriving.
Timing is Everything: The 2-3 weeks before buds swell in late winter is the perfect window for dormant-season pruning. This timing reduces stress on the tree and minimizes disease spread. If you miss this window, wait until early spring when new growth appears, but avoid pruning after buds break—you’ll risk encouraging fungal infections like fire blight.
The Angle Matters: Always make cuts at a 45-degree angle just outside the branch collar (that swollen area where the branch meets the trunk). This prevents water from pooling in the cut, which can lead to rot. I’ve seen so many trees suffer from improper cuts—don’t make my mistake! Also, always cut above an outward-facing bud to encourage new growth that spreads away from the center.
Tool Care Prevents Infection: Clean your pruning shears with rubbing alcohol between cuts—this is non-negotiable. I learned this the hard way after seeing my tree develop bacterial spots from dirty tools. Sterilizing your tools also prevents spreading diseases from infected branches to healthy ones, keeping your entire tree in top shape.
Shape Matters for Sunlight: Aim for an open center with sunlight reaching all the way to the trunk. This isn’t just about looks—it’s about preventing fungal diseases like fire blight that thrive in shaded, damp conditions. Thin out branches that rub against each other or grow inward, and always remove water sprouts (those straight-up/down branches) back to a lateral branch to maintain balance.
Pro Tips for Prune Pear Fruit Trees
- Don’t let overgrown branches ruin your pear harvest—these insights will keep your tree thriving.
- Timing is Everything: The 2-3 weeks before buds swell in late winter is the perfect window for dormant-season pruning...
- The Angle Matters: Always make cuts at a 45-degree angle just outside the branch collar (that swollen area where the ...
Frequently asked questions
Got questions about pruning your pear fruit trees? You’re not alone! Here are some of the most common concerns—plus clear, actionable answers to keep your tree thriving and productive.
When is the best time to prune pear trees?
For most pear varieties, late winter or early spring (just before buds swell) is ideal—this minimizes disease risk and encourages strong growth. However, avoid pruning in fall (especially if fire blight is a concern in your area), as wounds heal slower and pests may invade. If you must prune in summer, do so after harvest to avoid stressing the tree.
Can I prune pear trees in summer?
Yes, but with caution! Summer pruning (called "corrective pruning") is best for removing water sprouts or shaping the tree after harvest. Avoid heavy cuts—focus on thinning out dense branches to improve airflow. If you prune too late in summer, new growth may not harden off before winter, making it vulnerable to cold damage.
What if my pear tree’s branches are dying after pruning?
Don’t panic! Dying branches often signal stress from over-pruning or disease. First, check for fire blight (blackened, oozing cankers) or canker disease (sunken, cracked bark). If confirmed, sterilize tools with rubbing alcohol, remove infected wood at least 6 inches below the canker, and apply a copper fungicide. For healthy trees, ensure you’re not removing more than 25% of the canopy in one season.
Do I need to prune young pear trees differently?
Young trees (under 3 years old) benefit from open-center pruning to encourage an upright, sturdy structure. Focus on removing:
- Competing vertical branches (keep 3–5 well-spaced scaffold branches).
- Suckers at the base (they drain energy from fruit production).
- Crossing or rubbing branches (to prevent wounds and disease).
How do I prune pears in hot or humid climates?
In warm, humid areas, prune during cooler months (late winter/early spring) to reduce disease pressure. Always use sterilized tools and avoid pruning when rain is forecast. After cutting, apply a thin layer of pruning sealant (like Tanglefoot Tree Wound Pruning Seal) to large wounds (>1 inch) to deter fungal entry. Thin the canopy to improve airflow—this cuts down on humidity-related issues like powdery mildew.
Wrapping up and next steps
Pruning your pear fruit tree might feel like a big task at first, but with the right tools, timing, and techniques, you’ll transform it into a thriving, productive orchard gem. 🌱 Remember: patience and consistency are key—your efforts will reward you with healthier trees, better airflow, and juicier pears year after year.
Now that you’re armed with seasonal know-how, grab those pruners and get ready to shape your tree’s future!
Ready to take the next step? Mark your calendar for the next pruning season and start observing your tree’s growth. Over time, you’ll refine your skills—and soon, you’ll be the proud pear-grower your neighbors admire! 🍐✨