
Pruning
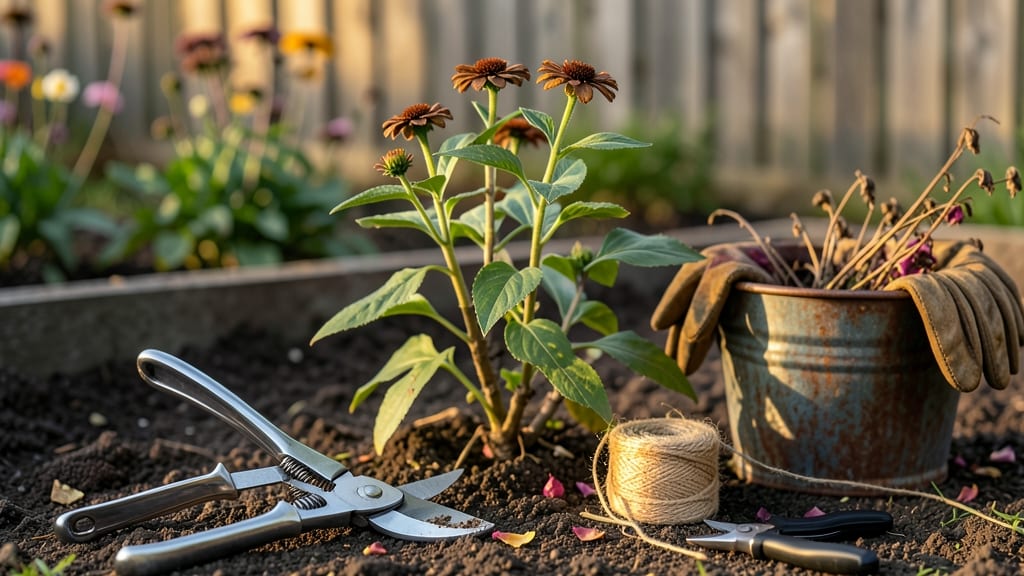
Pruning zinnias for winter isn't just about cleanup—it's your secret to next year's boldest blooms. 🌻 Most zinnias are annuals, so winter prep focuses on protecting the soil and roots for spring planting, but perennials in warm zones need a different approach.
The key is timing: wait until the first frost blackens the foliage, then cut back 2-3 inches above the ground to remove dead stems while leaving healthy base growth.
Grab your pruners and gloves—you only need 10 minutes and a sharp tool. Focus on removing all dead foliage and stems, but avoid cutting into woody stems if you're overwintering perennials. For annuals, you can even compost the cuttings (they won't regrow).
The goal? A clean base that won't harbor pests or diseases over winter. This simple step keeps your garden bed ready for spring planting without extra work.
What you'll end up with is fresh, disease-free soil ready for next season's zinnias. The cut-back stalks decompose quickly, adding nutrients back to the earth. In spring, you'll notice stronger, sturdier stems and more vibrant blooms—because you're giving them a clean start.
For perennials in mild climates, a light mulch after pruning adds extra protection.
This method works whether you're prepping for spring planting or overwintering perennials. The same principles apply to other tender annuals like cosmos or sunflowers. Just remember: timing is everything—prune too early, and you risk encouraging new growth that won't survive frost.
Too late, and you're left with a messy garden bed. Strike that balance, and you're set for a stronger season ahead.
📚 In This Guide
- What you need
- Instructions
- Tips and common mistakes
- Wrapping up and next steps
What you need
- ● Pruning shears or bypass pruners – Choose sharp, sterilized shears (4-6" blades) for clean cuts. Avoid dull tools that crush stems.
- ● Gloves – Heavy-duty gardening gloves (water-resistant) to protect hands from thorns and debris.
- ● Garden twine or plant ties – 10-15 feet of twine to secure heavy stems if needed.
- ● Disinfectant (70% isopropyl alcohol or bleach solution) – 1 part bleach to 9 parts water to sterilize tools between cuts.
- ● Garden waste bag or bucket – Large enough to hold pruned stems and debris (10+ gallons).
- ● Rake or leaf blower – For clearing fallen leaves/debris around the base of plants.
- ○ Watering can or hose with nozzle – To hydrate plants post-pruning (optional but helpful).
- ● Hand pruners – For smaller stems or tight spaces (3-4" blades).
- ● Mulch (straw or shredded leaves) – 2-3 inches to insulate roots after pruning.
- ● Label markers – If you’re pruning multiple varieties, mark stems to avoid confusion.
- ● Knee pad or stool – For comfort if you’re working with large or ground-level plants.
- ● Compost bin – To repurpose pruned stems as nutrient-rich compost.
Step-by-step instructions for pruning zinnias for winter
Here's how to prepare your zinnias for winter dormancy so they bounce back stronger next season.
✂️ Step 1: Time Your Pruning for Peak Health
Wait until the first hard frost blackens the foliage but before temperatures drop below 20°F. This usually occurs in late fall, around 4-6 weeks before your region's first frost date. You're aiming to cut back after the plant has gone dormant but before the roots suffer frost damage.
Grab your pruning shears and cut each stem back to about 2-3 inches above the soil line. This removes dead foliage while leaving enough stem to protect the crown during winter. I like to work on a dry day—wet stems stick to the shears and tear, leaving ragged cuts that invite disease.
🌿 Step 2: Remove Debris and Clean Up the Bed
After pruning, rake up all the cut stems and fallen leaves from the planting area. Zinnia debris left in the bed can harbor fungal spores that will attack next spring's new growth. You'll see a noticeable difference in next year's plants if you keep the area clean—fewer blackened leaves and stronger stems.
If your zinnias were planted in a raised bed, use a small hand fork to loosen the top 1-2 inches of soil around the base. This aerates the roots and helps prevent soil compaction over winter. Avoid digging deeper than necessary—zinnias have shallow roots that don't need disturbance.
🪴 Step 3: Apply a Light Mulch Layer for Protection
Spread a 2-3 inch layer of straw mulch over the soil surface, being careful not to mound it against the stems. Straw insulates the roots while allowing moisture to escape—critical for preventing rot in winter's damp conditions. I prefer straw over leaves because it breaks down slowly and doesn't mat down into a waterproof layer.
Leave a small gap around each plant's base to prevent moisture buildup. Watch for signs of over-mulching: if the mulch stays soggy for more than a week after rain, reduce the layer to 1-2 inches instead. Over-mulching suffocates roots and can lead to rot before spring.
☀️ Step 4: Monitor and Adjust Through Winter
Check your zinnias once a month during winter to ensure the mulch hasn't shifted or compacted. If heavy snow or rain compacts the mulch, fluff it gently with a rake. You'll notice the difference next spring when plants emerge with strong, disease-free stems instead of leggy, weak growth.
If your region experiences extreme cold below 0°F, consider adding a thin layer of burlap over the mulch for extra insulation. Remove it in early spring once temperatures consistently stay above 32°F to prevent overheating. This extra step makes all the difference in harsh climates.
Tips & tricks for pruning zinnias for winter
Here's what I learned the hard way after ruining a few batches of zinnias—these tricks ensure your plants bounce back stronger next spring.
Timing is Everything: That 4-6 week window before your first frost is critical. I learned this after watching zinnias die in my first winter—prune too early, and they'll regrow before dormancy; too late, and roots freeze. Check your local frost date and mark your calendar. If you're unsure, wait until the first frost hits and the foliage turns black, then prune within 3-4 days.
Clean Cuts Prevent Disease: Sharp pruning shears are a game-changer. I used dull shears once and ended up with ragged cuts that bled sap—perfect conditions for fungal infections. Clean your shears with rubbing alcohol between cuts to prevent spreading disease from plant to plant. And always cut at a 45-degree angle just above a leaf node to encourage new growth next spring.
Mulch Like a Pro: The 2-3 inch straw layer isn't just about insulation—it's about moisture control. I once over-mulched and ended up with soggy, rotting stems. Test your mulch by pressing it: if it stays compacted for more than a week after rain, reduce to 1-2 inches. For extra protection in cold climates, add a thin layer of burlap over the mulch when temperatures drop below 0°F, but remove it in early spring when temps stay above 32°F.
Soil Prep Makes All the Difference: That 1-2 inch soil loosening around the base in raised beds is often overlooked, but it's crucial. Compacted soil smothers roots and prevents proper drainage. Use a small hand fork to gently aerate—just enough to break up the top layer without disturbing the deeper roots. This small step can mean the difference between strong, healthy plants and weak, leggy stems next season.
Pro Tips for Prune Zinnias For Winter
- Here's what I learned the hard way after ruining a few batches of zinnias—these tricks ensure your plants bounce back stronger next spring.
- Timing is Everything: That 4-6 week window before your first frost is critical.
- Clean Cuts Prevent Disease: Sharp pruning shears are a game-changer.
Frequently asked questions
about pruning zinnias for winter—because even the best gardeners need a little clarity! Here are answers to the most common queries to keep your zinnias thriving year after year.Do I need to prune zinnias every year, or just in winter?
While winter pruning is key for cold climates, light pruning during the growing season (spring/summer) helps too! Trim dead blooms or leggy stems to encourage bushier growth and more flowers. Think of it like a spa day for your zinnias—regular upkeep keeps them happy and healthy!
What if I live in a mild winter—do I still prune zinnias?
Even in warmer zones, pruning after the first frost (or when growth slows) removes dead foliage and reduces pests/diseases. It also preps plants for spring. Just avoid heavy cuts—focus on shaping and cleaning up. Mild winters? Still a win!
My zinnias look sad after pruning—did I cut too much?
If you’ve stripped more than one-third of the plant, it might struggle. Aim to remove only dead, diseased, or overly leggy stems. Zinnias are resilient—new growth will sprout from the base! Over-pruned? Don’t worry; they’ll bounce back with patience.
Can I prune zinnias in containers differently than in-ground plants?
Yes! Container zinnias need slightly more frequent pruning since they’re root-bound. Trim lightly every 2–3 weeks to prevent overcrowding. In winter, reduce soil moisture (but don’t let it dry out completely) and prune back by half to save energy. Drainage matters—keep pots elevated!
What if my zinnias don’t regrow in spring after winter pruning?
Check for rot, pests, or frozen roots first. If the base is mushy or empty, the plant may not survive. Try replanting seeds or dividing nearby healthy stalks. Zinnias self-seed easily—sometimes nature handles the revival for you! Patience is key.
Wrapping up and next steps
Pruning zinnias for winter is your secret weapon for blooming stronger, healthier plants next season!
By following these steps—clearing dead foliage, trimming back stalks, and prepping the soil—you’re setting your garden up for a vibrant comeback. 🌱✨ With a little effort now, you’ll reward yourself with bold, resilient zinnias that steal the show year after year.
Ready to put your green thumb to work? Grab your shears and head to the garden—your future blooms will thank you! 🌸 For even more tips, check out our guide on extending your zinnia season.