
Pruning
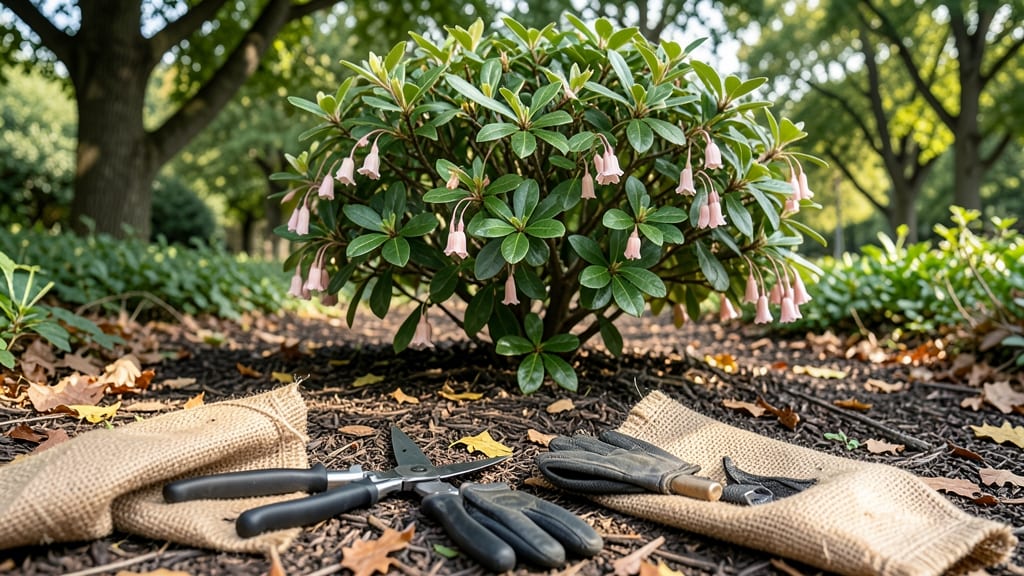
Pruning a Pieris plant 🌿 is the key to keeping it lush, blooming, and full of energy—especially when done at the right time and with the right technique.
If you’ve ever stared at a leggy Pieris with sparse blooms and wondered how to fix it, you’re not alone. The secret isn’t just cutting back willy-nilly; it’s about encouraging new growth while preserving next year’s flowers.
With the right approach, you can transform that shrub into a bushy, vibrant showstopper.
In this guide, I’ll walk you through the best times to prune—spring, summer, or fall—and exactly how to shape your Pieris for year-round blooms. We’ll cover tools, techniques, and even how to fix common mistakes that can stunt your plant’s growth.
Ready to give your Pieris the care it deserves? Let’s get started with step-by-step pruning that keeps your shrub healthy and stunning.

Pieris plant pruning schedule: best times for trimming to maximize blooms
Pieris plants, with their stunning spring blooms and glossy foliage, reward careful pruning with healthier growth and more abundant flowers. Unlike many shrubs, Pieris blooms on last year's growth, so timing is everything.
Prune too early, and you risk cutting off next year's flower buds. Prune too late, and you may encourage overly leggy growth.
Your pruning strategy should include three key times: late winter for renewal, spring after blooming for shaping, and summer maintenance to keep the plant tidy. Each season serves a unique purpose—whether it's encouraging new branches, removing dead wood, or maintaining shape.
Let's break down the perfect schedule for your Pieris japonica or Pieris floribunda.
| Season | Pruning Goal | When to Prune | What to Cut | Tools Needed |
|---|---|---|---|---|
| Late Winter | Renewal & Rejuvenation | February-March (before buds swell) | Dead, diseased, or crossing branches | Bypass pruners, gloves |
| Spring (Post-Bloom) | Shaping & Thinning | May-June (after flowers fade) | 1/3 of oldest stems at base | Loppers, hand pruners |
| Summer | Maintenance & Tidying | July-August (as needed) | Overgrown tips, leggy growth | Hand pruners, shears |
| Fall (Optional) | Light Cleanup | September-October (mild climates) | Minimal trimming only | Hand pruners |
Start your pruning journey in late winter, just as new growth begins to swell. This is the perfect time to remove dead or diseased branches and thin out crowded growth.
Avoid heavy pruning now—focus on cleaning up rather than reshaping. Pieris plants bloom on old wood, so cutting back too aggressively will reduce next year's flower display.
Once your Pieris has finished blooming in late spring, it's time for structural pruning. This is when you can shape the shrub by removing 1/3 of the oldest stems at the base.
Select branches that are thin, weak, or crossing—these are the ones that steal energy from your plant. Use clean, sharp pruners to make cuts just above a bud or leaf node.
Throughout summer, keep an eye out for overgrown tips or leggy branches. Light trimming now helps maintain the compact shape of your Pieris. Never remove more than 25% of the foliage in one session, or you risk stressing the plant.
Summer is also the time to deadhead spent blooms to encourage more flowers.
If you live in a mild climate, you can do a light cleanup in fall. However, avoid heavy pruning now—Pieris needs time to harden off before winter.
Focus on removing any remaining dead growth and tidying up the shrub's outline. In colder zones, wait until late winter to prune.
One of the biggest mistakes gardeners make is pruning at the wrong time. Never cut back Pieris in early spring when buds are just starting to form—this will remove next year's flowers.
Similarly, avoid heavy pruning in summer, as this can stimulate tender new growth that won’t survive frost.
To encourage bushier growth, always prune just above a bud or leaf node. This ensures the plant knows where to send new growth. Use sterilized tools to prevent disease spread, and dispose of clippings properly.
With this seasonal schedule, your Pieris will thrive for years, producing vibrant blooms and lush foliage
Step-by-step Pieris pruning techniques for bushier growth
Pruning your Pieris japonica isn’t just about shaping—it’s about unlocking denser foliage and prolonged blooms. The key is timing and technique. Structural pruning in late winter or early spring encourages new growth, while deadheading spent flowers redirects energy to foliage production.
I’ve pruned my Pieris for years, and these steps will help you avoid common mistakes while maximizing bushiness.
Before you grab your pruning shears, know that Pieris blooms form on old wood, so aggressive cuts can reduce next year’s flowers. The goal is to thin selectively, remove crossing branches, and open the canopy for airflow.
Let’s dive into the step-by-step process that will transform your leggy shrub into a flourishing bush.
- 1
After flowering (typically spring), remove faded flower clusters with clean cuts just above the leaf node. This prevents seed production and encourages foliage growth instead. Use sharp pruners to avoid tearing stems.
- 2
In late winter (before buds swell), remove 1/3 of the oldest or weakest branches at the base. Focus on crossing or rubbing branches to improve airflow and reduce disease risk. Never remove more than 25% of the plant in one year.
- 3
Lightly trim overly long branches to maintain a natural, rounded shape. Cut just above an outward-facing bud to encourage growth in the right direction. Avoid shearing, as it creates dense, weak growth prone to pests.
- 4
For overgrown Pieris (older than 10 years), perform a gradual rejuvenation. Each year, remove 2-3 older branches at the base, rotating sides. This forces new basal shoots to emerge, restoring vigor. Apply balanced fertilizer afterward to support recovery.
- 5
Remove all pruned debris from the base to prevent disease buildup. Apply a 2-inch layer of mulch around the plant (keep it 6 inches from the trunk) to retain moisture and suppress weeds. Water deeply after pruning to reduce stress.
Pro tip: If your Pieris hasn’t bloomed in years, it might need a harder reset. In early spring, cut back 1/3 of the oldest stems to the ground.
This drastic measure stimulates new growth and often restores flowering within 2 years. My 15-year-old Pieris came back stronger after this treatment!
Remember, Pieris responds best to gentle pruning. Avoid the temptation to shape it like a topiary—natural form encourages healthier growth. With these techniques, your Pieris will reward you with lush foliage and abundant spring blooms for years to come. 🌿✂️🌸