
Pruning
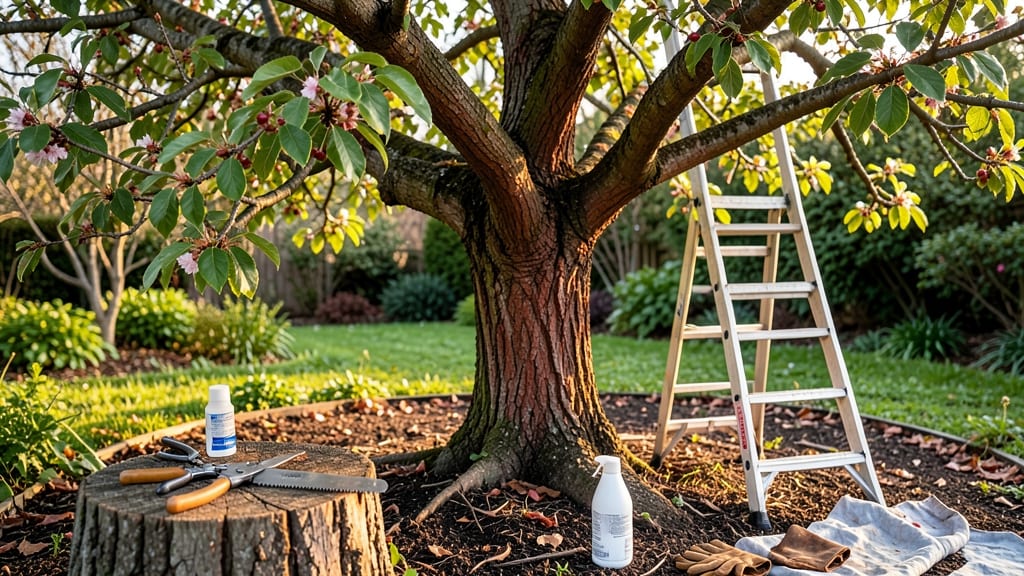
Pruning mature trees isn’t just about cutting branches—it’s about revitalizing them for decades of strong growth. 🌳 I’ve seen how strategic cuts can transform a struggling oak into a thriving canopy, and the key lies in understanding when and how to make those cuts without harming the tree.
The right tools (sharp pruners, a sturdy saw, and safety gear) make all the difference. Timing matters too—spring or late winter is ideal for most trees, but some species (like maples) bleed sap if pruned too early.
We’ll cover the exact techniques to use, from removing deadwood to thinning the crown for better airflow. You’ll leave with a tree that looks healthier, grows stronger, and poses fewer risks to your property. The cuts you make today will determine how your tree stands for years to come.
Let’s get started with the basics—because pruning wrong can do more harm than good.
First, assess the tree’s health by looking for dead, diseased, or crossing branches—these are the first to go. Use the three-cut method for larger limbs to avoid tearing the bark, and always cut just outside the branch collar where it meets the trunk.
This ensures the tree can seal the wound naturally. Safety is non-negotiable: wear gloves, eye protection, and avoid working near power lines. If a branch is too large or high, call a professional—no shortcuts here. Even experienced gardeners underestimate how quickly a limb can become unstable.
After pruning, monitor the tree for stress signs like excessive sap flow or wilting leaves. Water deeply if the weather turns dry, and avoid fertilizing right away—let the tree focus on healing.
With the right cuts, you’ll see new growth within a season, and the tree’s structure will improve over time. This method works for fruit trees, shade trees, and even overgrown shrubs. The goal isn’t just aesthetics—it’s longevity.
Now, let’s dive into the tools and steps that make pruning effective every time.
📚 In This Guide
- What you need
- Instructions
- Tips and common mistakes
- Wrapping up and next steps
What you need
- ● Pruning saw: A bow saw (20–24 inches) or pruning saw with a sharp, curved blade for clean cuts.
- ● Loppers: Bypass loppers (18–24 inches) for branches ¾–2 inches thick; anvil loppers for thicker cuts (but risk crushing wood).
- ● Pruning shears: Bypass shears (6–8 inches) for small branches and twigs under ½ inch.
- ● Pole saw or pruning pole: Extendable (10–20 feet) for high or hard-to-reach branches.
- ● Rope or climbing gear: Static rope (½ inch thick) and harness if working above 20 feet or on large trees.
- ● Safety gear: Heavy-duty gloves (cut-resistant, like Mechanix or PIP)
- ● Protective eyewear (ANSI-rated)
- ● Steel-toe or composite-toe boots
- ● Hard hat (if debris is a risk)
- ● Ear protection (if using a chainsaw)
- ● Chainsaw: Gas-powered (for branches >2 inches) with a 14–16-inch bar and sharp chain. Only use if trained!
- ○ Sealing wound paint or pruning sealant: Optional for large cuts (>2 inches), but not recommended for most mature trees (research species-specific needs).
- ● Disinfectant: Rubbing alcohol (70%+) or bleach solution (1:9 ratio) to clean tools between cuts and prevent disease spread.
- ● Marking twine or flags: Colored twine or biodegradable flags to tag branches for removal (helpful for large jobs).
- ● Heavy-duty trash bags: For collecting debris (20–50 gallon size).
- ● First-aid kit: Include tourniquet, bandages, and antiseptic wipes for emergencies.
- ● Weather check: Prune on a dry, calm day (avoid wind or rain).
- ● Tree assessment: Know your tree species (e.g., oak, maple, pine) and its growth habits—some bleed heavily (e.g., maples) or are prone to disease.
- ● Permits or professional help: Check local regulations if the tree is near power lines or exceeds height/DBH (diameter at breast height) limits.
- ● Safety zone: Clear a 10–15 foot radius around the tree to avoid falling debris or equipment mishaps.
Step-by-step guide for pruning mature trees
Here's how to prune like a pro—keeping your trees healthy, safe, and looking their best.
✂️ Step 1: Assess the Tree and Plan Your Cuts
Start by examining your tree from all sides. Look for dead, diseased, or crossing branches—these are your top priorities. I always use a sketch pad to map out my cuts before touching the saw. This prevents over-pruning and ensures you remove the right branches first.
Focus on three types of cuts: thinning cuts (removing entire branches back to the trunk), heading cuts (shortening branches by cutting just above a bud), and removal cuts (taking out entire branches at their base). Never remove more than 25% of the tree's canopy in one session—this stresses the tree and invites pests.
✂️ Step 2: Use the Right Tools and Techniques
Grab your pruning saw for thick branches over 2 inches in diameter and a sharp bypass pruner for thinner ones. I always sterilize my tools with rubbing alcohol between trees to prevent spreading disease. Start by making your first cut 6-12 inches out from the trunk on the underside of the branch—this helps the branch break cleanly at the collar (the swollen area where the branch meets the trunk).
Next, make a top cut just outside the branch collar, following the branch's natural angle. Avoid leaving stubs—these invite decay. For larger branches, use a three-cut method: the first cut relieves tension, the second removes the bulk, and the third cleans up the stub. Always cut at a 45-degree angle to allow water to run off.
✂️ Step 3: Prioritize Safety and Clean Cuts
Safety first: wear gloves, eye protection, and sturdy shoes. If the tree is near power lines or too tall, call a professional—this isn’t a DIY job. Work on dry days when branches are less slippery. I like to prune in late winter or early spring (just before buds swell) for most trees, but evergreens can be pruned anytime.
Watch for sucker growth (shoots sprouting from the trunk or roots) and remove them immediately—they drain energy from the main tree. Also, cut back water sprouts (fast-growing vertical shoots) to encourage a fuller canopy. After pruning, clean up all debris from the ground to prevent fungal growth.
✂️ Step 4: Monitor and Maintain Growth
After pruning, keep an eye on the tree for new growth in the next few weeks. Healthy branches should sprout fresh leaves within 4-6 weeks. If you see yellowing leaves, wilting, or oozing sap, you may have over-pruned or cut too close to the collar—this invites infections like honey fungus or canker disease.
For long-term health, prune annually to remove small branches before they become unmanageable. Focus on structural integrity—remove branches that rub together or grow inward. A well-pruned tree will have a strong central leader (main upright trunk) and open canopy that lets sunlight reach the lower branches.
Tips & tricks for pruning mature trees
Don't let fear of mistakes hold you back—these pro tips will help you prune with confidence and precision.
Visualize First: Before making a single cut, take a step back and photograph your tree from multiple angles. This helps you spot hidden issues like crossing branches or dead wood you might miss in person. I use a simple sketch pad to map out my cuts—it’s like having a blueprint for your tree’s transformation. This step alone prevents over-pruning and ensures you address the right branches first.
Tool Sharpness is Non-Negotiable: A dull pruning saw or bypass pruner will crush branches instead of making clean cuts. Test your tools by cutting a small twig—if it doesn’t slice cleanly, sharpen or replace them. I keep a small file and rubbing alcohol in my toolkit for quick touch-ups between trees. Clean cuts heal faster and reduce the risk of disease entering the tree.
The Three-Cut Method for Large Branches: When dealing with branches over 2 inches in diameter, the three-cut method is your best friend. First, make a small undercut about 6-12 inches out from the trunk on the underside of the branch. This relieves tension before you make the top cut. Next, cut just outside the branch collar at a 45-degree angle. Finally, clean up any remaining stubs. This technique prevents tearing and ensures the branch breaks cleanly at the collar.
Season Matters: Timing your prune is almost as important as the cuts themselves. For most trees, late winter or early spring (just before buds swell) is ideal because the tree is dormant but about to burst with new growth. Evergreens are the exception—they can be pruned anytime, but avoid heavy pruning in late summer to prevent new growth from being damaged by frost. If you must prune in summer, do it early in the season to allow time for new growth to harden off before winter.
Pro Tips for Pruning Mature Trees
- Don't let fear of mistakes hold you back—these pro tips will help you prune with confidence and precision.
- Visualize First: Before making a single cut, take a step back and photograph your tree from multiple angles. This hel...
- Tool Sharpness is Non-Negotiable: A dull pruning saw or bypass pruner will crush branches instead of making clean cut...
Frequently asked questions
Got questions about pruning mature trees?
You’re not alone—this task can feel overwhelming, especially when dealing with large, established trees. Below, we’ve answered the most common questions to help you feel confident and informed before grabbing your pruners.
When is the best time to prune mature trees?
The ideal time depends on your tree’s type and goals. For most deciduous trees, late winter or early spring (just before new growth) is best—it minimizes stress and disease risk. Evergreens can be pruned in early spring or late fall. Avoid heavy pruning in extreme heat or drought. Pro tip: If unsure, consult a local arborist for species-specific advice!
How much of a mature tree can I safely prune at once?
Never remove more than 25% of the tree’s canopy in a single session—this prevents shock and weakens the tree’s structure. For large trees, spread pruning over 2–3 years if needed. Focus on removing dead, diseased, or crossing branches first. Warning: Over-pruning can stress the tree and invite pests or disease.
Can I prune mature trees myself, or should I hire a professional?
Small, manageable cuts (like removing low-hanging branches) can be DIY-friendly with the right tools. However, for large trees, complex pruning, or work near power lines, hire a certified arborist. Professionals have the expertise, insurance, and equipment to handle risks safely. Pro tip: If your tree is over 30 feet tall, err on the side of caution!
What should I do if my tree starts bleeding sap after pruning?
Sap bleeding (especially in maples, birches, or elms) is normal and harmless—it won’t harm the tree. However, if the flow is excessive or accompanied by wilting, discoloration, or fungal growth, your cuts may be too large or improper. Seal cuts with tree wound pruning sealant (for large wounds) or let them heal naturally. Avoid painting small cuts.
How do I know if my pruning cuts are healing correctly?
Healthy pruning wounds should callus over within 1–2 growing seasons, forming a smooth, textured layer. Avoid disturbing the area (like applying paint or mulch too close). Signs of trouble include oozing sap for months, mushroom growth, or unusual leaf discoloration. If you spot these, contact an arborist to assess for disease or pest issues.
Still unsure? Drop your specific tree type or concern in the comments—we’re happy to help!
Wrapping up and next steps
Pruning mature trees isn’t just about trimming branches—it’s an investment in their long-term health, safety, and beauty. 🌳 By following the right techniques and timing, you can boost growth, prevent hazards, and even extend their lifespan.
Whether you’re a seasoned gardener or a curious beginner, taking action now will make a lasting difference.
Ready to get started? Assess your trees today—schedule a professional inspection or grab your tools and begin with small, confident cuts. Your trees (and future shade!) will thank you.