
Pruning
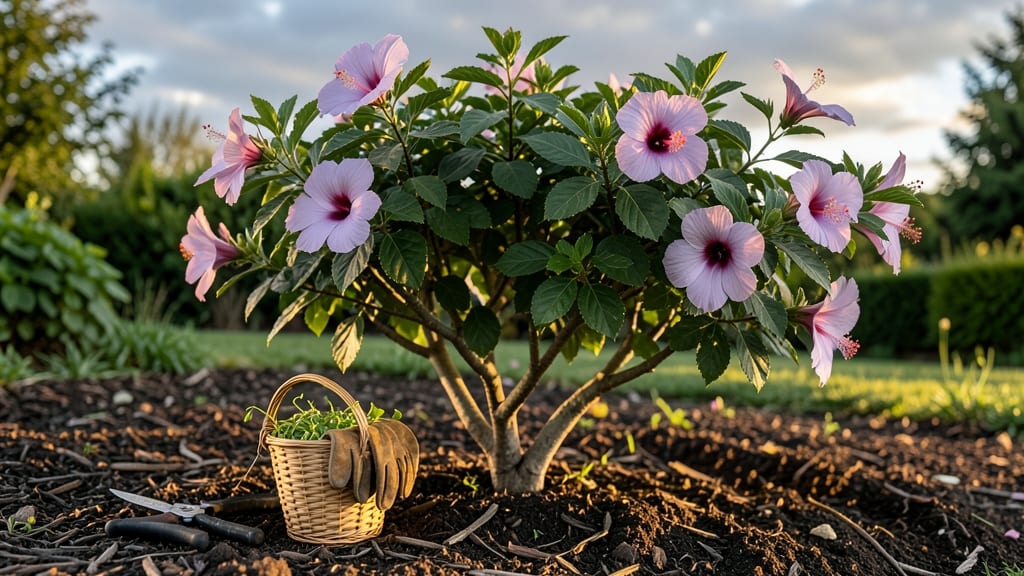
Pruning a Rose of Sharon shrub in late winter is the perfect time to give it the deep cut it needs to explode with blooms by summer. ✂️ I’ve pruned mine every year since that first shocking transformation—when I cut back a leggy, half-dead shrub and watched it burst with vibrant pink blooms just 8 weeks later. The secret isn’t just timing (though late winter is critical) but knowing where to cut. You’ll shape the shrub’s natural vase shape, encourage dense growth, and remove dead wood—all while avoiding the common mistake of pruning too late, which delays flowering. Grab your pruners and gloves, and let’s turn that winter skeleton into a summer showstopper. You’ll end up with a fuller, healthier shrub that flowers 2-3 weeks earlier than unpruned bushes. The key is cutting back one-third of last year’s growth and opening up the center for airflow—no more tangled mess, just a structured, blooming powerhouse. Works for both young shrubs and established ones, and the same principles apply whether you’re shaping a hedge or a standalone specimen. Here’s how to do it right—without turning your garden into a winter cleanup disaster.
📚 In This Guide
- What you need
- Instructions
- Tips and common mistakes
- Wrapping up and next steps
What you need
- ● Pruning shears: Bypass pruners (sharp, 5-7 inch blades) for clean cuts on smaller branches. Anvil pruners are a budget option but can crush stems.
- ● Loppers: Bypass loppers (8-12 inch blades) for thicker branches (½ inch or larger). Look for ratcheting loppers for extra leverage.
- ● Hand saw or pruning saw: For branches thicker than 1 inch. Choose a curved-tooth saw to prevent tearing wood.
- ● Disinfectant: Rubbing alcohol (70% isopropyl) or a 10% bleach solution to sterilize tools between cuts and prevent disease spread.
- ● Gloves: Heavy-duty gardening gloves (nitrile or leather) to protect hands from thorns and debris.
- ○ Pruning sealant (optional but helpful): Tree wound pruning paste for large cuts (over ½ inch) to reduce sap loss and pest entry.
- ● Bucket or trash bag: For collecting pruned branches and debris.
- ● Extension pole: Attaches to loppers or shears for high branches (3-6 foot reach).
- ● Ladder: Sturdy, non-slip ladder (4-6 feet tall) if branches exceed your reach.
- ● Marking twine or flags: To tag branches for removal (if pruning in stages).
- ● Safety glasses: Protect your eyes from flying debris.
- ● Knee pads: For comfort if you’ll be kneeling or crouching for extended periods.
Step-by-step instructions for pruning Rose of Sharon shrub
Here's how I transform tired, overgrown shrubs into lush, flowering powerhouses every late winter.
✂️ Step 1: Gather Tools and Assess the Shrub
Start with clean, sharp pruning shears and a sturdy bypass pruner for thicker stems. I always disinfect my tools with rubbing alcohol first—this prevents spreading disease between cuts. Wear gloves too; Rose of Sharon thorns are no joke, and the sap can irritate skin.
Stand back and examine the shrub's overall shape. Look for dead, crossing, or weak branches—these are your first targets. You'll notice healthy stems have smooth, green bark while dead ones are dry, brittle, and often blackened at the ends. Mark these with a piece of twine or flagging tape if you're working alone.
✂️ Step 2: Remove Dead and Problematic Branches First
Cut out any dead wood completely down to the base. These branches won't regrow, and removing them opens up space for new growth. Next, tackle crossing branches—where two stems rub against each other. Make your cut at the branch collar (the swollen area where the branch meets the trunk), cutting just outside the collar at a 45-degree angle.
For weak or spindly growth, remove about one-third of these branches. You'll see the shrub's natural structure emerge as you work. Never remove more than 25% of the plant's total growth in one season—this stresses the shrub and reduces flowering.
✂️ Step 3: Thin Out Interior Branches for Better Airflow
Rose of Sharon needs good airflow to prevent fungal diseases. Focus on the center of the shrub where branches grow tightly together. Remove every other branch that's growing inward, cutting back to a strong outward-facing bud. This creates an open vase shape that lets light and air circulate.
Watch for "water sprouts"—thin, vertical shoots growing straight up from the base or along the trunk. These steal energy from flowering branches. Cut these out completely at the base. You'll know you've done enough when you can see light through the center of the shrub.
✂️ Step 4: Shape the Outer Canopy
Now for the fun part—shaping! Step back frequently to assess your work. Aim for a rounded, slightly dome shape that's wider at the top than the base. Cut back the longest branches by about one-third, making your cuts just above an outward-facing bud or leaf node.
For branches that are too long but still healthy, you can also do a "heading cut"—shortening the branch to encourage bushier growth. Make this cut just above a set of leaves or a strong bud. Avoid leaving stubs; always cut back to a bud or node. This ensures new growth emerges in the right direction.
⏰ Step 5: Clean Up and Apply Mulch
After pruning, rake up all the clippings and dispose of them in the trash—not the compost pile. Rose of Sharon clippings can harbor fungal spores that might reinfect your shrub. Sweep the area around the base to remove any fallen leaves or debris.
Spread a 2-3 inch layer of mulch around the base, keeping it 6 inches away from the trunk to prevent rot. I use shredded bark mulch because it breaks down slowly and improves soil structure over time. Water the base thoroughly after mulching to help the roots recover from the pruning stress.
Tips & tricks for perfect Rose of Sharon pruning
Transforming your overgrown shrub into a flowering masterpiece takes more than just cutting branches—here's how to avoid common pitfalls and achieve professional results.
Tool Prep is Non-Negotiable: Before you even touch a branch, sharpen your pruning shears and bypass pruner. Dull blades crush stems instead of cleanly cutting them, which can damage the plant. I test my tools by making a clean cut through a newspaper—if it tears instead of slices, it's time to sharpen. Also, keep rubbing alcohol handy for quick disinfection between cuts on different branches to prevent spreading disease.
Step 2's 45-Degree Angle Secret: When removing crossing branches at the branch collar, that 45-degree angle isn't just decorative—it helps water run off the cut properly. Make your cut just outside the collar (the swollen area) to avoid damaging the protective layer that prevents infections. I like to visualize slicing a pie wedge—this ensures you're cutting at the perfect angle while maintaining that crucial distance from the collar.
Airflow Check That Saves Shrubs: After thinning interior branches, do the "light test"—if you can see sunlight through the center of your shrub, you've succeeded. This open vase shape isn't just for looks; it prevents fungal diseases by allowing air circulation. I've seen Rose of Sharon shrubs develop powdery mildew when pruned too densely, so don't skip this step even if your shrub looks full from a distance.
Mulch Application Precision: That 2-3 inch layer of mulch around the base isn't just decoration—it's a protective barrier. Keep it 6 inches away from the trunk to prevent rot, which happens when moisture gets trapped against the bark. I use shredded bark mulch because it breaks down slowly, but you could also use pine straw or wood chips. The key is maintaining that proper distance while covering the roots completely.
Pro Tips for Pruning Rose Of Sharon Shrub
- Transforming your overgrown shrub into a flowering masterpiece takes more than just cutting branches—here's how to av...
- Tool Prep is Non-Negotiable: Before you even touch a branch, sharpen your pruning shears and bypass pruner. Dull blad...
- Step 2's 45-Degree Angle Secret: When removing crossing branches at the branch collar, that 45-degree angle isn't jus...
Frequently asked questions
Got questions about pruning your Rose of Sharon? You’re not alone! Here are answers to the most common concerns to help you tackle this task with confidence.
When is the absolute latest I can prune my Rose of Sharon before spring?
Late winter—right before new growth emerges—is ideal, typically February to early March in most U.S. zones (3–9). If you miss this window, wait until early spring (as buds swell) but avoid pruning after May, as it may stress the plant. Pro tip: Check your local frost dates to avoid encouraging early blooms that could get nipped by cold!
How much can I cut back my Rose of Sharon? Can I prune it all the way to the ground?
Yes! These shrubs are hardy and thrive with drastic pruning. Cut back 1/3 to 1/2 of the plant to encourage bushier growth, or even all the way to the ground if it’s overgrown or deadwood-heavy. Focus on removing old, crossing, or weak branches first. Warning: Avoid over-pruning in colder climates—leave a few stems for protection if winters are harsh.
Will pruning my Rose of Sharon now affect its flowers this year?
Actually, yes—but in a good way! Pruning in late winter removes last year’s spent blooms and redirects energy to new, vibrant growth for a bigger, healthier bloom in late summer/fall. If you prune too late (after buds form), you might delay flowering, but the trade-off is worth it for long-term health.
What if my Rose of Sharon doesn’t bloom after pruning? Did I do it wrong?
Not necessarily! These shrubs often skip a year after heavy pruning to rebuild. Focus on watering deeply (1–2 inches per week) and fertilizing in spring with a balanced 10-10-10 or rose-specific food. If it still doesn’t bloom after 2 years, check for pests, disease, or poor drainage.
Are there alternatives to pruning if my Rose of Sharon is too large to manage?
If pruning feels overwhelming, try these low-maintenance options:
- Thinning cuts: Remove only 10–20% of the oldest stems annually to slow growth.
- Renewal pruning: Cut back 1/3 of the oldest stems every 2–3 years in rotation.
- Topiary shaping: Train it into a tree or hedge for easier upkeep (use sharp shears!).
Wrapping up and next steps
Pruning your Rose of Sharon shrub in late winter isn’t just about tidying up—it’s your secret weapon for vibrant blooms and lush growth all season! By following the right steps—like timing, tools, and technique—you’ll encourage healthier stems, better airflow, and that showstopping floral display you love. 🌸
Now that you’re armed with the know-how, grab those pruners and roll up your sleeves! Start small if you’re new, and soon, your Rose of Sharon will reward you with years of effortless beauty. Ready to transform your shrub? Check out our seasonal care calendar for ongoing tips!