
How To
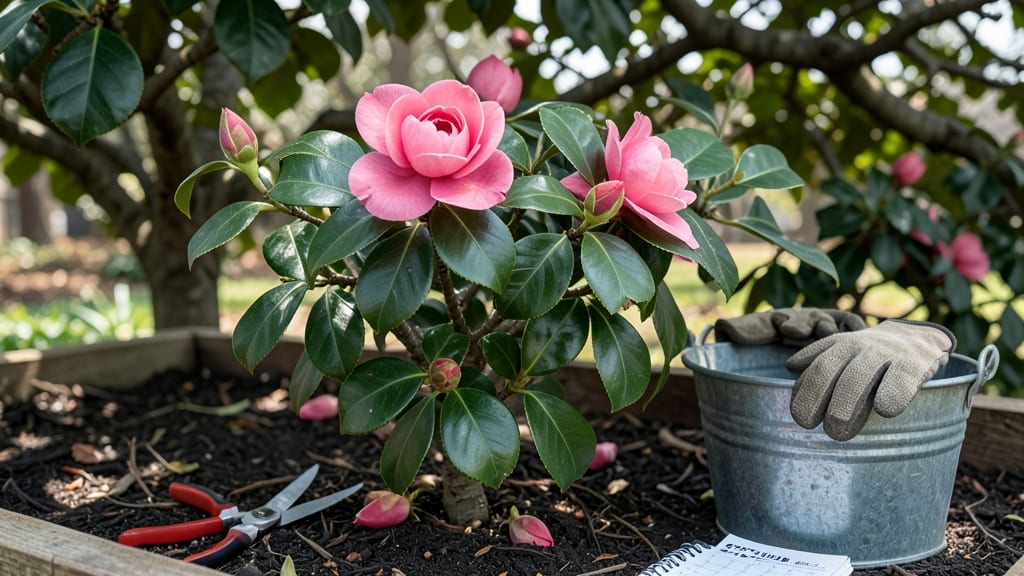
Pruning your camellias after they bloom in late winter is the secret to stronger blooms next season 🌸 — and skipping this step can leave your shrubs looking ragged.
Picture this: You’ve waited all year for those stunning camellia flowers, only to find your plant looking tired and overgrown. The problem? Pruning at the wrong time can stress the plant, reduce next year’s blooms, or even invite disease.
Late winter is the sweet spot—when the plant is dormant but ready to rebound.
In USDA Zone 7b, that means pruning between February and early March, just as buds begin to swell. But timing isn’t one-size-fits-all—regional climates, bloom cycles, and even your camellia’s type (evergreen, semi-evergreen, or fall-blooming) play a role.
Get it wrong, and you might end up with sparse flowers or leggy growth.
Below, I’ll walk you through the exact steps to prune your camellias like a pro—when to cut, what tools to use, and how to avoid the three biggest mistakes that ruin blooms. Ready to transform your camellias into a showstopper?
The exact late winter window for pruning camellias
Pruning your camellias at the wrong time can mean fewer blooms next year—or worse, damaging the plant entirely. Timing is everything, and late winter holds the key to unlocking your camellias' full potential.
This is when your plants are dormant but not yet pushing new growth, making them resilient to pruning. Understanding the exact window ensures you encourage vibrant blooms while maintaining plant health.
Late winter is the ideal time because it occurs after the blooming season and before new shoots emerge. For most USDA Zone 7b regions, this means pruning between mid-February and early March.
However, climate variations—like warmer southern regions or colder northern zones—can shift this window slightly. The key is to prune after the last frost but before buds begin to swell.
Look for these visual cues to confirm the perfect pruning moment: no fresh leaves or buds, and a dormant appearance. If you see green tips or new growth, you’ve missed the window.
Pruning too early risks exposing the plant to late frost damage, while pruning too late can interfere with next year’s blooms.
| Climate Zone | Pruning Window | Key Cues |
|---|---|---|
| USDA Zone 7b-9 (Temperate) | Mid-February to early March | No buds, dormant foliage |
| USDA Zone 8-10 (Warm) | Late January to February | After last frost, no new growth |
| USDA Zone 6 or colder | Late March to early April | Wait until soil thaws, no frost risk |
In warmer climates like USDA Zones 8-10, camellias may start showing signs of growth as early as January. This means your pruning window shifts to late January or early February.
Always prioritize post-frost timing—even a light frost can damage fresh cuts. For cooler zones (Zone 6 or below), delay until late March or early April to avoid frost damage.
Pruning in late winter also stimulates new growth at the optimal time for spring. When you remove dead or crossing branches, you improve airflow, reducing the risk of fungal diseases like petal blight.
This is especially critical for evergreen camellias, which rely on healthy foliage year-round. Think of it as giving your plant a fresh start before the growing season kicks in.
If you’re unsure about the exact timing, use the bud swell test: gently press a bud. If it’s firm and hasn’t started to open, it’s safe to prune. If it feels soft or begins to crack, wait a few weeks.
This simple check ensures you’re pruning at the peak dormant stage, just before the plant wakes up for spring.
Another pro tip: prune on a dry day when temperatures are mild (between 50°F and 70°F). Avoid pruning during rain or wind, as wet cuts can invite disease, and strong winds may stress the plant.
Early morning is ideal—it gives any cuts time to dry and heal before evening moisture sets in.
For fall-blooming varieties, like Camellia sasanqua, the late winter window is even more critical. These plants set buds in late summer, so pruning too late can remove next year’s flowers.
Stick to the mid-February deadline for these types. Always research your specific variety—some, like Camellia japonica, are more forgiving with timing.
Finally, remember that less is more when pruning camellias. Never remove more than one-third of the plant’s foliage in a single session. Focus on shaping, thinning, and removing dead wood rather than heavy cutting. This approach ensures your camellia stays healthy, blooms abundantly, and thrives for years to come.
By mastering the late winter pruning window, you’ll set your camellias up for a spectacular bloom season. Pay attention to your local climate, watch for those key cues, and soon you’ll be rewarded with lush, vibrant flowers that steal the show.
Step-by-step pruning guide for different Camellia types
Not all camellias are pruned the same way—semi-evergreen, evergreen, and fall-blooming varieties each have unique needs. Using the wrong technique can stress your plant or even reduce next year’s blooms.
I’ll walk you through the exact steps for each type, including when to cut, how to shape, and what tools to use to keep your camellias thriving.
Start by gathering the right tools: sharp bypass pruners for clean cuts, loppers for thicker branches, and a sterilized saw for stubborn stems. Always disinfect your tools with rubbing alcohol to prevent disease spread.
Camellias are sensitive to improper cuts, so precision matters—especially when shaping fall-blooming varieties, which need extra care to avoid cutting off next year’s flower buds.
Here’s your step-by-step guide to pruning each camellia type correctly:
Check if your plant is evergreen, semi-evergreen, or fall-blooming. Evergreens (like Camellia japonica) keep leaves year-round, while semi-evergreens (like Camellia sasanqua) drop some foliage in winter. Fall-bloomers need special attention to preserve buds.
Cut back dead or crossing branches first, then shape the plant by removing up to 1/3 of old wood. Focus on opening the center for airflow. Avoid heavy pruning—evergreens bloom on old wood, so don’t trim back into last year’s growth.
Lightly trim sparse or leggy growth after new leaves emerge. Semi-evergreens (like Camellia × williamsii) bloom on both old and new wood, so prune sparingly. Remove only dead wood and shape gently to encourage bushiness.
Fall-bloomers (like Camellia sasanqua) need minimal pruning—only remove dead wood or branches that spoil the shape. Never cut into next year’s buds, which form after flowering. Light shaping is fine, but avoid heavy cuts.
Dip cuts in pruning sealant (optional but helpful in humid climates) to prevent disease. Remove all clippings and sterilize tools again. Mulch around the base with acidic compost to support recovery.
After pruning, monitor your camellias for new growth—this signals success. If you notice yellowing leaves or stunted blooms, you may have pruned too aggressively. Fall-blooming varieties are especially sensitive, so err on the side of caution.
Water deeply after pruning to help the plant recover, especially in dry climates where stress is higher.
Remember, the key to pruning camellias is patience and precision. Over-pruning leads to fewer blooms, while gentle shaping encourages stronger growth. With the right technique, your camellias will reward you with vibrant blooms for years to come. 🌸