
Pruning
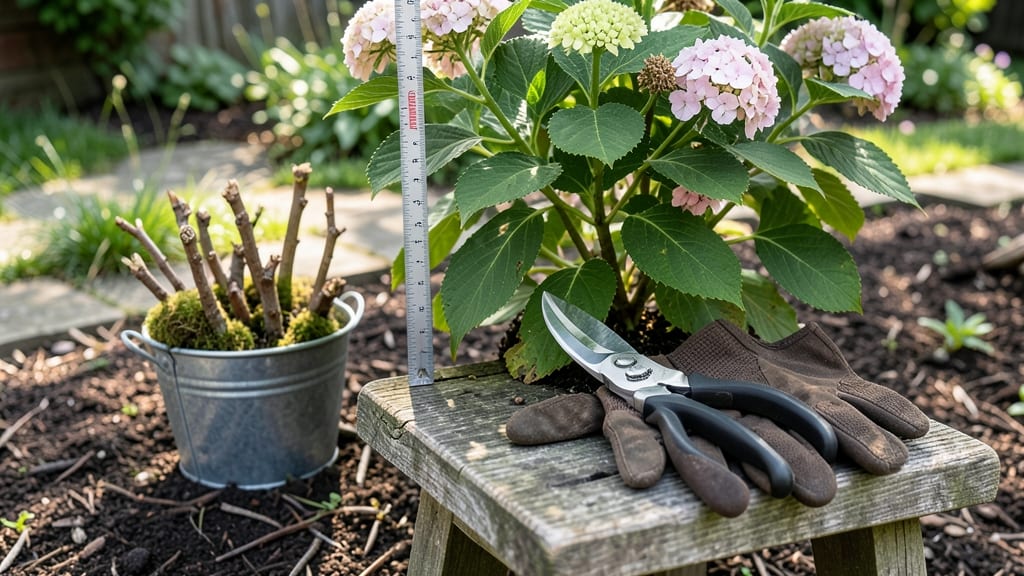
Mastering hydrangea plant care pruning isn’t just about cutting back—it’s the secret to showstopping blooms that turn heads every summer. 🌸 I’ve spent years perfecting the timing and technique, and the difference between a bush full of tiny flowers and one bursting with giant blooms comes down to a few simple cuts made at the right time.
The key? Knowing whether your hydrangea blooms on old wood, new wood, or both—and when to prune each type.
Most varieties need a late winter or early spring trim, but bigleaf hydrangeas (like Endless Summer) are the exception—they bloom on both old and new wood, so you can prune anytime.
Grab your pruners, gloves, and a bucket for clippings, then focus on shaping the plant while removing dead or crossing branches. The goal is to encourage airflow and sunlight penetration, which means thicker blooms and fewer pests.
I’ve seen plants go from sparse to overwhelmingly lush in just one season with the right approach.
After pruning, your hydrangeas will reward you with bold, vibrant blooms that last from midsummer through fall. The color intensity deepens as the season progresses, and the foliage stays healthy and glossy.
Just avoid cutting into last year’s growth if your variety blooms on old wood—those buds are already set for next year’s show. For new wood bloomers, you can even prune right after flowering to keep the shape compact.
This method works for all hydrangea types, from the classic mopheads to delicate lacecaps, and even container-grown plants. Whether you’re dealing with a mature bush or a young plant, the same principles apply—just adjust the intensity. Let’s get those blooms popping!
📚 In This Guide
- What you need
- Instructions
- Tips and common mistakes
- Wrapping up and next steps
What you need
- ● Pruning shears: Sharp, bypass-pruners (4-6 inches) for clean cuts on stems up to ½ inch thick.
- ● Loppers: For thicker stems (½–1½ inches), with a 6–8-inch blade for leverage.
- ● Hand pruners: For small branches or deadheading (anvil or bypass type, 4–5 inches).
- ● Garden gloves: Heavy-duty, cut-resistant gloves (size medium/large) to protect your hands.
- ○ Disinfectant (optional but recommended): 70% isopropyl alcohol or a 10% bleach solution (1 part bleach to 9 parts water) to sterilize tools between cuts and prevent disease.
- ● Pruning saw: For very thick stems (1½+ inches) that loppers can’t handle.
- ● Ladder or step stool: If your hydrangea is tall (4–6 feet or higher).
- ● Marking twine or flags: To tag stems for removal (if pruning in stages).
- ● Trash bags or bucket: For collecting pruned branches and debris.
- ● Sharpie or permanent marker: To label tools or note pruning dates.
- ● Check the weather: Prune on a dry, calm day to avoid spreading disease or damaging wet soil.
- ● Know your hydrangea type: Mophead and Bigleaf hydrangeas bloom on old wood; Panicle and Oakleaf bloom on new wood—this affects when and how you prune!
- ● Wear long sleeves and closed-toe shoes to protect against scratches or thorns.
Step-by-Step guide to pruning hydrangeas for maximum blooms
Pruning hydrangeas isn't complicated—it's about timing and knowing which stems to keep. Here's how I get my plants to burst with flowers year after year.
✂️ Step 1: Identify Your Hydrangea Type First
This is the moment that matters: bigleaf hydrangeas (like 'Endless Summer') bloom on new wood, so you can prune aggressively in late winter. Oakleaf and panicle hydrangeas bloom on old wood, so wait until after flowering to trim. I always check the flower buds first—if they're still tight and green, hold off on pruning.
For mophead or lacecap varieties, look for the previous year's flower clusters. If they're brown and dried up, that's your cue to prune. But if you see fresh green buds forming, those will become this year's blooms—leave those stems alone. I mark stems with a ribbon if I'm unsure, so I don't accidentally cut them.
⏰ Step 2: Prune at the Right Time of Year
For new wood bloomers, I grab my pruners in late February or early March before new growth starts. The goal is to cut back one-third of the oldest stems to the ground, while leaving the younger stems intact. This encourages fresh, vigorous growth that will produce next year's flowers. I never prune in fall—you'll risk damaging tender new buds that haven't hardened off yet.
For old wood bloomers, wait until June or July after they've finished flowering. Cut back any dead or weak stems, but only shape the plant—never remove more than 20% of the plant at once. I like to step back and look at the plant from all sides to ensure I'm keeping a balanced shape. If you prune too late in the season, you risk stunting next year's flower production.
🌿 Step 3: Cut Back Properly for Health and Shape
Always use clean, sharp pruners to make cuts at a 45-degree angle, about ¼ inch above a leaf node or outward-facing bud. This prevents water from pooling on the cut and reduces disease risk. I avoid cutting into old wood that's thicker than a pencil—those stems won't regrow, and you'll end up with bare spots.
For new wood bloomers, I trim back to just above a set of healthy buds or a strong side branch. The more you cut, the bushier the plant becomes. For old wood bloomers, I only remove dead wood or stems that cross the center—never cut into last year's flower clusters, even if they're brown. Those are this year's blooms in disguise.
☀️ Step 4: Post-Pruning Care for Strong Recovery
After pruning, I give my hydrangeas a light fertilizer to encourage new growth. Water deeply at the base to help the plant recover, but avoid wetting the leaves to prevent fungal diseases. I also mulch around the base with 2-3 inches of organic mulch to retain moisture and regulate soil temperature.
Watch for new shoots emerging within 3-4 weeks. These are your signal that the plant is happy and recovering well. If you see yellowing leaves or wilting, it might mean you pruned too late or too aggressively. I keep an eye out for pests like aphids or spider mites, which love fresh new growth—neem oil spray keeps them at bay.
✂️ Step 5: Maintain Shape Throughout the Growing Season
Hydrangeas don't need much maintenance once established, but I do light pruning in summer to encourage bushiness and remove any dead or crossing branches. Pinch back the tips of new growth on new wood bloomers to promote fuller growth. For old wood bloomers, I only remove spent flowers to keep the plant looking tidy.
Here's the thing—hydrangeas respond well to regular shaping. I make small cuts throughout the season to maintain the plant's natural form and encourage airflow. This prevents diseases like powdery mildew and keeps the blooms bigger and brighter. I always prune in the morning when the plant is hydrated, so it recovers faster.
Tips & tricks for perfect hydrangea pruning
Took me years to figure out these pruning secrets—trust me, they make all the difference for lush blooms.
Visual Cues Matter: In Step 1, when checking flower buds, look for the "tight and green" test—these are next year's blooms. For old wood bloomers, dried brown clusters mean it's safe to prune, but green buds mean wait. I use a small magnifying glass to inspect tricky spots, especially on mophead varieties where buds can be hidden.
Timing is Everything: The late February to early March window for new wood bloomers is non-negotiable. If you miss it, you'll cut off potential blooms before they emerge. For old wood types, mark your calendar for June or July—pruning too early means sacrificing this year's flowers. I set phone reminders because I've learned the hard way what happens when I'm a month late!
Cutting Technique Secrets: That 45-degree angle in Step 3 isn't just for looks—it creates a natural water runoff that prevents disease. I use a small ruler to ensure my cuts are exactly ¼ inch above the bud. For thick stems, I make two cuts: first at 45 degrees, then straight across to prevent tearing. This keeps the plant healthier and encourages better regrowth.
Post-Pruning Recovery: The 3-4 week window for new shoots is your green light that everything's working. If you don't see growth by week 5, something went wrong—either you pruned too late or too aggressively. I keep a pruning journal noting when I cut and what the plant looked like afterward. This helps me spot patterns in what works best for my specific hydrangeas.
Pro Tips for Hydrangea Plant Care Pruning
- Took me years to figure out these pruning secrets—trust me, they make all the difference for lush blooms.
- Visual Cues Matter: In Step 1, when checking flower buds, look for the "tight and green" test—these are next year's blooms.
- Timing is Everything: The late February to early March window for new wood bloomers is non-negotiable.
Frequently asked questions
Got questions about hydrangea pruning? You’re not alone! Here are answers to the most common concerns—so you can keep your blooms thriving with confidence.
When is the best time to prune hydrangeas?
The ideal time depends on your hydrangea type! For mophead and bigleaf varieties (like Hydrangea macrophylla), prune right after flowering in late summer or early fall to avoid cutting off next year’s buds. Panicle and oakleaf hydrangeas (like Hydrangea paniculata) bloom on new wood—so prune in late winter or early spring for best results.
Can I prune hydrangeas in winter?
Yes, but with caution! Panicle and oakleaf hydrangeas can handle winter pruning, but avoid cutting back mophead or bigleaf types until after they’ve bloomed. Cold snaps can stress plants, so wait until late winter (after the last frost) or prune lightly in winter to shape, leaving buds intact.
What if I prune at the wrong time?
Don’t panic! Wrong timing won’t kill your plant, but it may reduce blooms. If you prune mophead hydrangeas too early (before flowering), you’ll cut off next year’s buds. For panicle types, late pruning won’t harm them since they bloom on new growth. Just adjust your approach next year!
How much can I cut back my hydrangea?
It depends on the variety! For mophead and bigleaf hydrangeas, trim back 1/3 of the oldest stems to encourage new growth. Panicle hydrangeas can be cut back by half or more in late winter—they’re hardier and bounce back beautifully. Never remove more than 1/3 of the plant at once to avoid shock.
What should I avoid when pruning hydrangeas?
Steer clear of these mistakes:
- Pruning too late on mophead types—wait until after blooms fade.
- Using dull shears—clean, sharp tools prevent tearing stems.
- Over-pruning—never remove more than 1/3 of the plant in one go.
- Ignoring dead wood—always remove brown, mushy, or diseased stems first.
Pro Tip:
If your hydrangeas aren’t blooming, check the stems—mophead types need last year’s buds (woody stems with swollen tips) to flower. If you see no buds, you may have pruned too late or too aggressively. Next time, prune after blooms and leave some old stems!
Wrapping up and next steps
Mastering hydrangea pruning is your secret weapon for vibrant, abundant blooms year after year! 🌸 By understanding when, how, and why to trim—whether for mopheads, lacecaps, or panicle types—you’re well on your way to a thriving garden.
Remember, timing and technique are everything, so don’t hesitate to grab those shears and get hands-on.
Ready to put your new skills to the test? Start with just one hydrangea bush this season, document your progress, and watch your confidence—and blooms—grow! 🌱