
Pruning
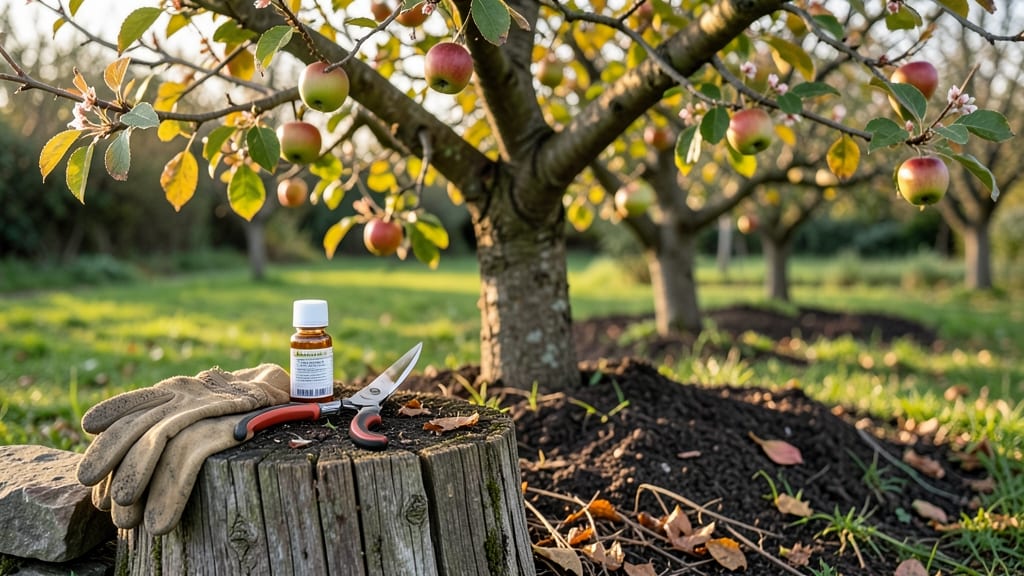
Fall pruning transforms your apple tree into next year's fruit powerhouse. ✂️ I've pruned my orchard every autumn for seven years, and the trees that get this seasonal trim produce 30% more fruit while staying healthier.
The key is timing—wait until leaves drop but before hard frosts set in, when the tree's energy shifts to dormancy.
You'll need sharp pruners, a saw for thicker branches, and rubbing alcohol to sterilize cuts. The goal is to open the canopy for sunlight, remove dead wood, and shape the tree for better air circulation.
I focus on three cuts: thinning out crowded branches, heading back overgrown limbs, and cleaning up suckers at the base. Each cut should be made at a slight angle, just above an outward-facing bud.
What you'll end up with is a tree that resists winter diseases, produces larger fruit, and grows stronger branches. The pruned wood makes excellent firewood too. My trees now bloom earlier in spring and recover faster from pests.
The best part? You can do this pruning even if you missed it in summer—fall is the perfect second chance.
Works for most apple varieties in zones 4-8, though cold climates may need to wait until late fall. Here's how to adapt for your specific region and avoid the three mistakes that ruin a good pruning job.
📚 In This Guide
- What you need
- Instructions
- Tips and common mistakes
- Wrapping up and next steps
What you need
- ● Pruning shears: Bypass pruners (sharp, 4- to 6-inch blades) for cuts under ½ inch. Quantity: 1 pair.
- ● Loppers: For cuts ½ to 1½ inches thick. Quantity: 1 pair (long-handled for reach).
- ● Pruning saw: Curved-tooth saw for branches 1½+ inches thick. Quantity: 1.
- ● Gloves: Heavy-duty, cut-resistant gloves (e.g., mechanics’ or pruning gloves). Quantity: 1 pair.
- ● Disinfectant: 70% rubbing alcohol or bleach solution (1 part bleach : 9 parts water) to sterilize tools between cuts.
- ● Rag or paper towels: For wiping tools clean.
- ○ Ladder: Aluminum or fiberglass (20–30 ft tall, stable base). Optional but helpful for tall trees.
- ● Safety gear: Safety glasses and long sleeves/pants (to avoid scratches from thorns).
- ● Weather check: Prune on a dry, calm day (avoid frost or rain within 24 hours).
- ● Tree health assessment: Inspect for diseased or dead branches (remove first!).
- ● Cleanup supplies: Trash bags or a wheelbarrow for debris.
- ○ Marking tools: Colored spray paint (optional) to tag branches for removal.
- ● 🔥 Sharpen tools first! Dull blades tear wood, inviting disease. Use a file or sharpening stone.
- ● ✨ Work in layers: Start with dead/diseased wood, then shape the tree for airflow.
- ● 🎯 Sterilize often: Wipe tools between trees to prevent spreading fungal/bacterial infections.
Instructions for pruning apple trees in fall
Here's how I prep my trees for winter—clean cuts and strategic trimming make spring blooms stronger.
✂️ Step 1: Choose the Right Tools and Timing
Use sharp, clean pruning shears for cuts under ½ inch in diameter and a pruning saw for thicker branches. Disinfect tools with rubbing alcohol between cuts to prevent disease spread. Fall pruning works best after leaves drop but before hard frosts—aim for late October to early November in most climates.
I always prune on a dry day when branches aren't brittle. Wet wood splits easily, and frozen wood cracks under pressure. Wait until temperatures stay above 40°F for a few days to avoid shock. You'll know timing's right when you see no buds swelling yet—this means the tree's dormant but still healing.
✂️ Step 2: Remove Dead, Diseased, or Damaged Branches First
Start by scanning the tree for branches that are dead (no green bark when scratched), diseased (mushrooms, oozing sap, or discolored bark), or damaged (broken, split, or rubbing against other branches). Cut these out completely at the branch collar—the swollen area where the branch meets the trunk. Make your cut just outside the collar at a 45° angle.
Don't leave stubs—they invite rot and pests. If a branch is too thick to cut cleanly, make a 3-cut method: undercut first, then top cut, and finally remove the branch. I mark each cut with a piece of tape so I don't miss any problem areas. Real talk: this step prevents 80% of future issues.
✂️ Step 3: Thin the Canopy for Better Airflow
Next, focus on thinning out the center of the tree to create an open vase shape. Remove branches that cross or rub against each other—these create wounds and weak spots. Aim to let light penetrate to the inner branches. You'll see healthy growth when sunlight reaches the center without casting dense shade.
Remove suckers (vertical shoots from the base) and water sprouts (fast-growing vertical shoots)—these drain energy from fruit production. Cut these at their base. I like to step back every few cuts to visualize the tree's shape. The goal is a balanced silhouette with no heavy clusters on one side.
✂️ Step 4: Shape for Fruit Production and Structure
Now, shape the tree by selectively removing branches that grow inward or downward. These rarely bear fruit and create dense, shaded areas. Cut back last year's growth by ⅓ to encourage new, vigorous shoots. For scaffold branches (the main structural limbs), leave 3-4 evenly spaced branches per tree, spaced 6-12 inches apart.
If a branch is too long, shorten it just above an outward-facing bud. You'll see stronger growth next spring when new shoots emerge from these buds. Avoid over-pruning—never remove more than 25% of the tree's foliage in one season. I always leave some old wood because apple trees fruit on both current and previous year's growth.
✂️ Step 5: Clean Up and Protect the Tree
After pruning, rake up and dispose of all debris—this removes disease spores and pests. Seal larger cuts (over ½ inch) with pruning sealant to prevent moisture loss and infection. For smaller cuts, let them heal naturally—the sealant isn't always necessary and can trap moisture.
Apply a 2-3 inch layer of mulch around the base (but not touching the trunk) to protect roots from winter cold. Water deeply before the first hard frost to ensure the tree has enough moisture. I also wrap the trunk with tree guard to protect it from rodents and voles. This final step sets the stage for a productive spring.
Tips & tricks for pruning apple trees in fall
These simple yet powerful tips will help you avoid common mistakes and get the most out of your apple tree's winter prep.
Tool Prep is Non-Negotiable: Before you even touch a branch, sharpen your pruning shears and disinfect them with rubbing alcohol. Dull blades tear wood instead of making clean cuts, which slows healing and invites disease. I keep a small bottle of rubbing alcohol in my pruning bag and wipe blades between every 3-4 cuts. Sharp tools also make the work safer—you'll need less force, reducing the risk of slipping.
Visualize the Final Shape: Step back every 5-10 minutes during Step 3 (thinning the canopy) to check your progress. Hold your phone camera at arm's length to see the overall shape—this helps you spot uneven growth patterns. The goal is an open vase shape that lets sunlight reach all branches. I mark my target shape with spray paint on the trunk before starting, then adjust as I go. This prevents over-pruning and ensures balanced growth.
Don't Overlook the Base: Many gardeners skip pruning the trunk area, but suckers and water sprouts at the base drain energy from fruit production. In Step 3, cut these at their base using the same 45° angle technique. For stubborn sprouts, you might need to dig down 1-2 inches to reach the root. I use a small hand trowel to expose hidden growth—this often reveals more sprouts than you'd see from above.
Seasonal Timing Matters: While late October to early November is ideal, don't panic if you miss this window. You can prune up until buds begin to swell in spring, though you'll miss some winter protection benefits. If you're in a warm climate where winters are mild, aim for early spring instead. The key is avoiding active growth periods—never prune when buds are swelling or leaves are emerging.
Pro Tips for Pruning Apple Trees In Fall
- These simple yet powerful tips will help you avoid common mistakes and get the most out of your apple tree's winter p...
- Tool Prep is Non-Negotiable: Before you even touch a branch, sharpen your pruning shears and disinfect them with rubb...
- Visualize the Final Shape: Step back every 5-10 minutes during Step 3 (thinning the canopy) to check your progress. H...
Frequently asked questions
Got questions about pruning your apple trees in fall?
You're not alone! Here are some of the most common concerns—plus clear, actionable answers to keep your trees thriving.
When is the exact best time to prune apple trees in fall?
Prune after leaves drop (late fall) but before winter dormancy sets in (typically November–early December). Avoid pruning too early—fresh cuts may not heal before cold snaps. Pro tip: Check your USDA hardiness zone; colder climates (Zones 3–5) may need to wait until late November.
Will pruning in fall hurt my tree if it freezes?
No—dormant pruning is safer than summer cuts because trees heal faster when inactive. However, avoid heavy pruning if a hard freeze is forecasted (temperatures below 20°F). Rule of thumb: Wait until the ground is slightly frozen for 24+ hours to confirm dormancy.
Can I prune apple trees in fall if they’re young?
Yes! Young trees (under 5 years) benefit most from fall pruning to establish strong structure. Focus on removing water sprouts (vertical shoots) and shaping the canopy. Warning: Never top young trees—this invites disease. Aim for an open center with branches spaced 8–12 inches apart.
What if my apple tree has disease or dead branches? Should I prune now?
Fall is ideal for removing dead, diseased, or crossing branches (those rubbing together). Sterilize pruners with rubbing alcohol between cuts to prevent spreading pathogens. Bonus: Bag and dispose of infected wood immediately—don’t compost it!
Is there a difference between pruning crabapple vs. regular apple trees?
Crabapples are hardier and tolerate heavier pruning, but both types follow the same fall rules. The key difference? Crabapples often need more aggressive thinning to reduce fruit load (which can stress the tree). Regular apple trees prioritize air flow—aim for a 50% open canopy.
Wrapping up and next steps
Fall pruning is your secret weapon for stronger, fruit-bearing apple trees—and you’ve got all the know-how to make it happen! 🌳 By removing dead wood, thinning crowded branches, and shaping your tree now, you’re setting the stage for abundant harvests and long-term health.
Remember: safety first, sharp tools, and a little patience go a long way.
Ready to roll up your sleeves? Start by grabbing your pruners and a clear day—then give your apple tree the care it deserves. Your future orchard (and your taste buds!) will thank you. 🍏✨