
Pruning
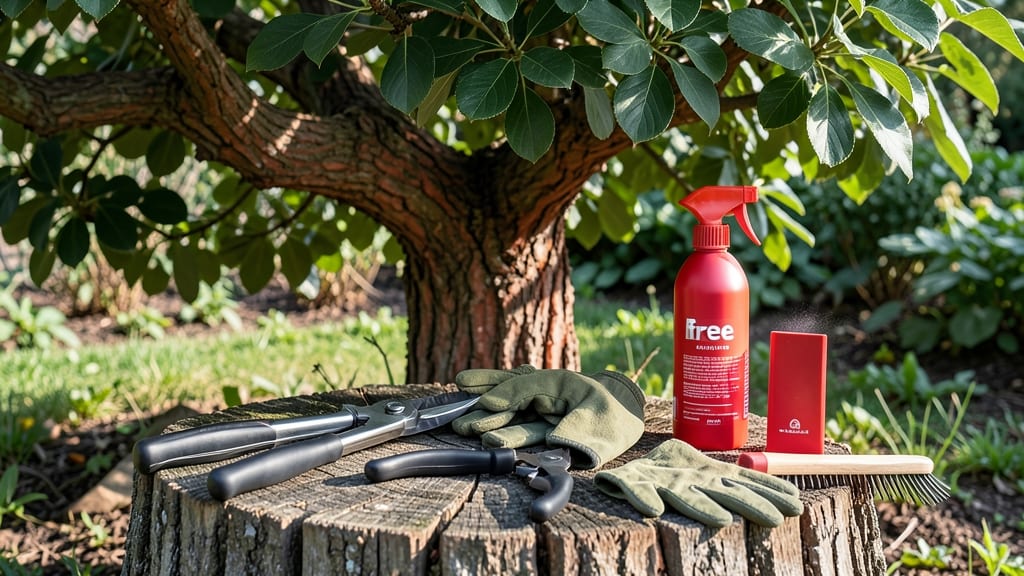
Pruning filbert nut trees isn’t just about shaping branches—it’s about unlocking next year’s harvest. 🌿 I’ve spent years watching these trees transform from tangled messes into productive powerhouses, and the secret lies in knowing when and how to cut.
A single misstep can rob you of nuts, but the right approach turns your tree into a steady food source for decades.
The best time to prune is late winter or early spring, before new growth starts. You’ll need sharp bypass pruners, loppers for thicker branches, and a ladder—filberts grow tall fast. Start by removing dead, diseased, or crossing branches first, then thin out crowded growth to let sunlight reach the center.
Think of it like giving your tree a haircut: less is more, and patience pays off.
By summer’s end, you’ll see the difference: fewer suckers at the base, stronger branches, and—most exciting—more nut clusters forming. The key is consistency; even a little pruning each year keeps your tree healthy and productive.
I’ve gone from struggling with tangled branches to harvesting enough nuts for holiday treats every fall.
Works for both hazelnuts and filberts, whether you’re pruning a young sapling or an established tree. The same principles apply, just scaled to size. Let’s get those branches in shape—your future harvest depends on it.
📚 In This Guide
- What you need
- Instructions
- Tips and common mistakes
- Wrapping up and next steps
What you need
- ○ Pruning shears: Bypass pruners (sharp, 6-8" blades) for small branches (up to ½ inch thick). Anvil pruners (for thicker branches) are optional but handy.
- ● Loppers: Bypass-type (18-24" handles) for branches ¾–1½ inches thick. Must be sharp and clean to avoid tearing.
- ● Pruning saw: Curved-tooth handsaw or pruning saw for branches over 2 inches thick. A folding saw adds convenience.
- ● Gloves: Heavy-duty, cut-resistant (like leather or Kevlar) to protect against thorns and rough bark.
- ● Disinfectant: 70% isopropyl alcohol or bleach solution (1 part bleach to 9 parts water) to sterilize tools between cuts and prevent disease spread.
- ● Rubbing alcohol or hand sanitizer: For cleaning hands after pruning to avoid cross-contamination.
- ● Twine or zip ties: Jute twine (for wrapping cuts) or plastic zip ties (to secure branches temporarily).
- ○ Sealant (optional):strong> Pruning sealant (like Tanglefoot Tree Wound Pruning Seal) for large cuts over ½ inch in diameter.
- ● Weather check: Prune on a dry, calm day (avoid rain or high winds). Early morning or late afternoon is ideal to reduce stress on the tree.
- ● Safety gear: Safety glasses (to shield from debris) and long sleeves/pants (for protection against thorns and sap).
- ● Tree health assessment: Inspect the tree for diseased or dead branches (they’ll appear brown, shriveled, or lack bark) before starting.
- ● Cleanup supplies: Heavy-duty trash bags (for debris) and a wheelbarrow or bucket to haul away pruned branches.
- ● Ladder (if needed): A stable, extendable ladder (rated for your weight + tools) for taller trees. Never stand on the ladder while pruning!
- ● 🔥 Sharpen your tools! Dull blades crush branches, causing more damage than a clean cut. Hone them before the season.
- ● 🌡️ Work in layers: Remove up to 25% of the tree’s foliage in one session to avoid shocking the tree.
- ● ✨ Label branches: Use flagging tape to mark branches for removal if you’re unsure—double-check before cutting!
Step-by-Step guide to pruning filbert nut trees
Here's the straightforward approach I use to keep my filbert nut trees thriving year-round.
✂️ Step 1: Prune in Late Winter for Structural Shape
Start your pruning between late January and early February while the tree is still dormant. This timing gives wounds plenty of time to heal before spring growth begins. I focus on removing dead, diseased, or crossing branches first—these compete with healthy growth and can harbor pests.
Use clean, sharp pruning shears to make cuts just outside the branch collar (the swollen area where the branch meets the trunk). Avoid leaving stubs—this prevents disease entry points. For branches thicker than ½ inch, use a pruning saw instead. You'll notice the tree's natural structure emerge as you remove problematic limbs.
☀️ Step 2: Thin the Canopy in Early Summer
After the tree has finished flowering but before new growth hardens, head back out in June or July to thin the canopy. The goal is to improve air circulation and sunlight penetration to the inner branches. I remove about 20% of the total foliage, focusing on branches growing inward or rubbing against others.
Look for branches that are growing straight up—these are called "water sprouts" and should be removed entirely at their base. You'll see a more open, airy structure that allows sunlight to reach all parts of the tree. Never remove more than ¼ of the canopy in one season, or you'll stress the tree.
⏰ Step 3: Light Pruning in Late Summer for Harvest Health
In August or September, do a light pruning to remove any branches that are growing too vigorously or are shading the nut-producing branches. Focus on the outer edges of the tree, cutting back any branches that are growing toward the center. This encourages the tree to focus its energy on producing high-quality nuts rather than excessive foliage.
Remove any suckers (shoots growing from the base of the tree) immediately—they divert energy from nut production. You'll notice the tree's energy shifting toward the existing branches as you prune. Avoid heavy pruning now, as it can stimulate new growth that won't have time to harden off before winter.
✂️ Step 4: Cleanup and Sanitation After Harvest
Once the nuts have fallen in late fall (October or November), do a final cleanup. Remove any dead, broken, or diseased branches that may have appeared during the growing season. Sterilize your pruning tools with rubbing alcohol between cuts to prevent spreading disease.
Rake up and dispose of all fallen leaves and debris—this reduces overwintering pests and diseases. You'll see a cleaner, healthier tree ready for next year's growth. Store your pruning tools in a dry place to keep them sharp and ready for next season's work.
Tips & tricks for pruning filbert nut trees
Real talk: Pruning filbert nut trees isn't just about cutting branches—it's about creating an environment where your tree can thrive. Here's what I've learned after years of trial and error with my own orchard.
Timing is Everything: The late January to early February window for Step 1 isn't arbitrary—it's when the tree is fully dormant, which means it won't bleed sap excessively when you prune. I've made the mistake of pruning too early in winter when temperatures fluctuate, and the wounds took much longer to heal. If you miss this window, wait until the tree is completely dormant before attempting any structural pruning.
Tool Sharpness Matters: You can't overstate the importance of sharp tools in Step 1. Dull pruning shears crush the bark instead of making clean cuts, which creates larger wounds that heal poorly. I keep a small file in my toolkit to sharpen my shears between cuts. For branches thicker than ½ inch, a pruning saw is non-negotiable—it gives you the control to make precise cuts without tearing the bark.
Visual Cues for Step 2: When thinning the canopy in June or July, look for branches that cast shadows on other branches—they're blocking sunlight and air circulation. I also watch for branches that grow at sharp angles (greater than 45 degrees) from the trunk or main branches, as these are more likely to break during storms. Removing these creates that open, airy structure that's perfect for nut production.
Seasonal Energy Management: In Step 3, when you're doing light pruning in late summer, remember that every cut diverts energy. I focus on removing only the most aggressive growth—branches that are growing toward the center or are clearly outcompeting nut-producing branches. The goal is to encourage the tree to put its energy into producing high-quality nuts, not new foliage that won't mature before winter.
Pro Tips for Pruning Filbert Nut Trees
- Real talk: Pruning filbert nut trees isn't just about cutting branches—it's about creating an environment where your tree can thrive.
- Timing is Everything: The late January to early February window for Step 1 isn't arbitrary—it's when the tree is fully dormant, which means it won't bleed sap excessively when you prune.
- Tool Sharpness Matters: You can't overstate the importance of sharp tools in Step 1.
Frequently asked questions
Got questions about pruning your filbert nut trees? You’re not alone! Here are some of the most common concerns—and their straightforward answers—to help you prune like a pro.
When is the best time to prune filbert nut trees?
Late winter or early spring (just before buds swell) is ideal for major pruning. Light shaping can be done in summer, but avoid heavy cuts then—it stresses the tree. Never prune in fall, as wounds won’t heal before winter’s chill.
How much can I trim without harming the tree?
Remove no more than 20-25% of the tree’s canopy in a single session. Focus on dead, diseased, or crossing branches first. Over-pruning reduces next year’s nut production—think of it as a haircut, not a buzz cut! Pro tip: Thin out crowded branches to improve airflow and sunlight.
What if my filbert tree isn’t producing nuts after pruning?
Filbert trees need 3-5 years to mature before heavy nut production. If it’s older and still struggling, check for:
- Over-pruning (too aggressive cuts)
- Poor soil (test pH—ideal range: 6.0-7.0)
- Pests/disease (look for holes, sawdust-like frass, or fungal spots)
Can I prune filbert trees the same way as hazelnuts?
Mostly, yes! Both are in the same family (Corylus), but filberts (hybrid hazels) often have longer canes and more vigorous growth. Prune filberts slightly harder to encourage bushier structure. Avoid topping (cutting the main stem flat)—it invites disease.
What tools do I need beyond shears?
For small branches, bypass pruners work great. Larger limbs? Use a pruning saw (avoid hedge trimmers—they tear wood). Always sterilize tools with rubbing alcohol between cuts to prevent spreading disease. Pro tip: Keep a first-aid kit handy for splinters!
Wrapping up and next steps
Pruning your filbert nut trees isn’t just about shaping their growth—it’s the secret weapon for bigger harvests and stronger trees! 🌱 With the right tools, timing, and techniques, you’ll keep your trees thriving year-round.
Whether you’re a seasoned gardener or just starting, every careful cut brings you closer to a bountiful nut yield.
Ready to take action? Start small: Grab your pruners, review your tree’s needs, and make your first cuts with confidence. Your future harvests will thank you! 🌟